Notarizing macOS applications
There are a lot of steps involved with notarizing macOS applications for distribution outside the macOS App Store. DotPurple can automate much of this process, but many things you will have to do yourself. This page gives you all the details! Make sure to click on any images you want to view in a larger size.
Note that DotPurple only supports code signing notarization on macOS. This is because the tools needed for code signing and notarization are not available on Windows or Linux.
macOS .app creation, code signing, and notarization is only available for DotPurple Pro licenses.
Before using DotPurple
Here are all the steps you'll need to do BEFORE using DotPurple to help ease your notarization process. You would probably need to do these even if you weren't using DotPurple!
1. Install Xcode
Install Xcode for some command line tools that you'll need to complete the notarization process. You can do the rest of the setup while Xcode is downloading and installing.
Note: If you have troubles with some tools (like "xcrun") not being called properly in Xcode, install Xcode to a non-default path, have multiple versions of Xcode installed, or otherwise don't have "xcrun" and "codesign" and other tools in your command-line path, please follow the directions on this StackOverflow post for some good troubleshooting tips on SO for getting your Xcode CLI tools setup properly.
2. Enroll in the Apple developer program
If you have already enrolled, skip to step 10. If not, visit the Apple Developer enrollment page to start the process.
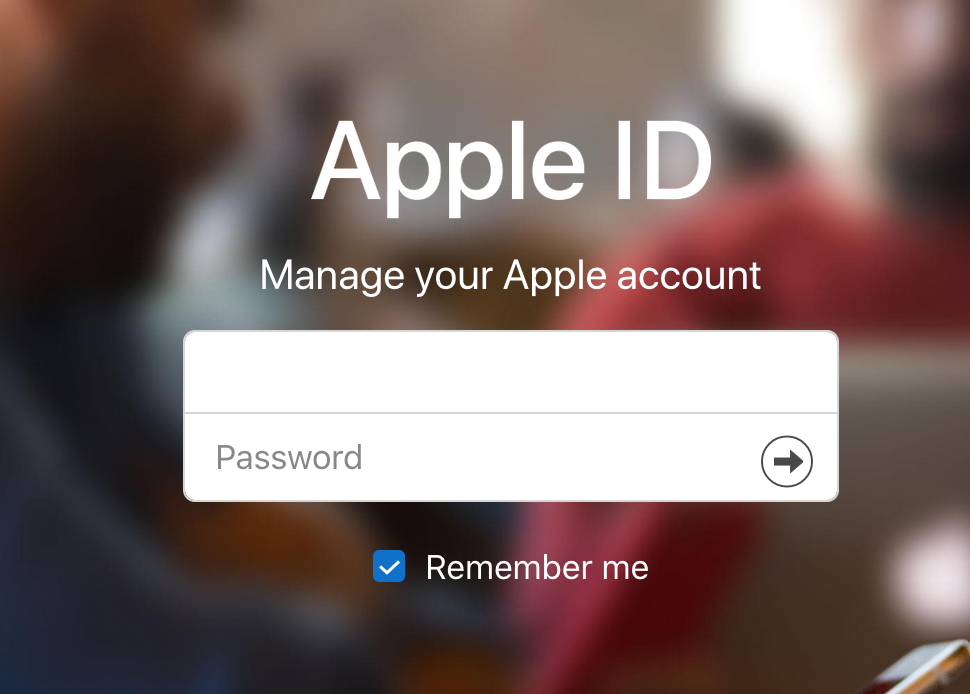
3. Register or login to your Apple account using your Apple ID

4. Confirm your personal information

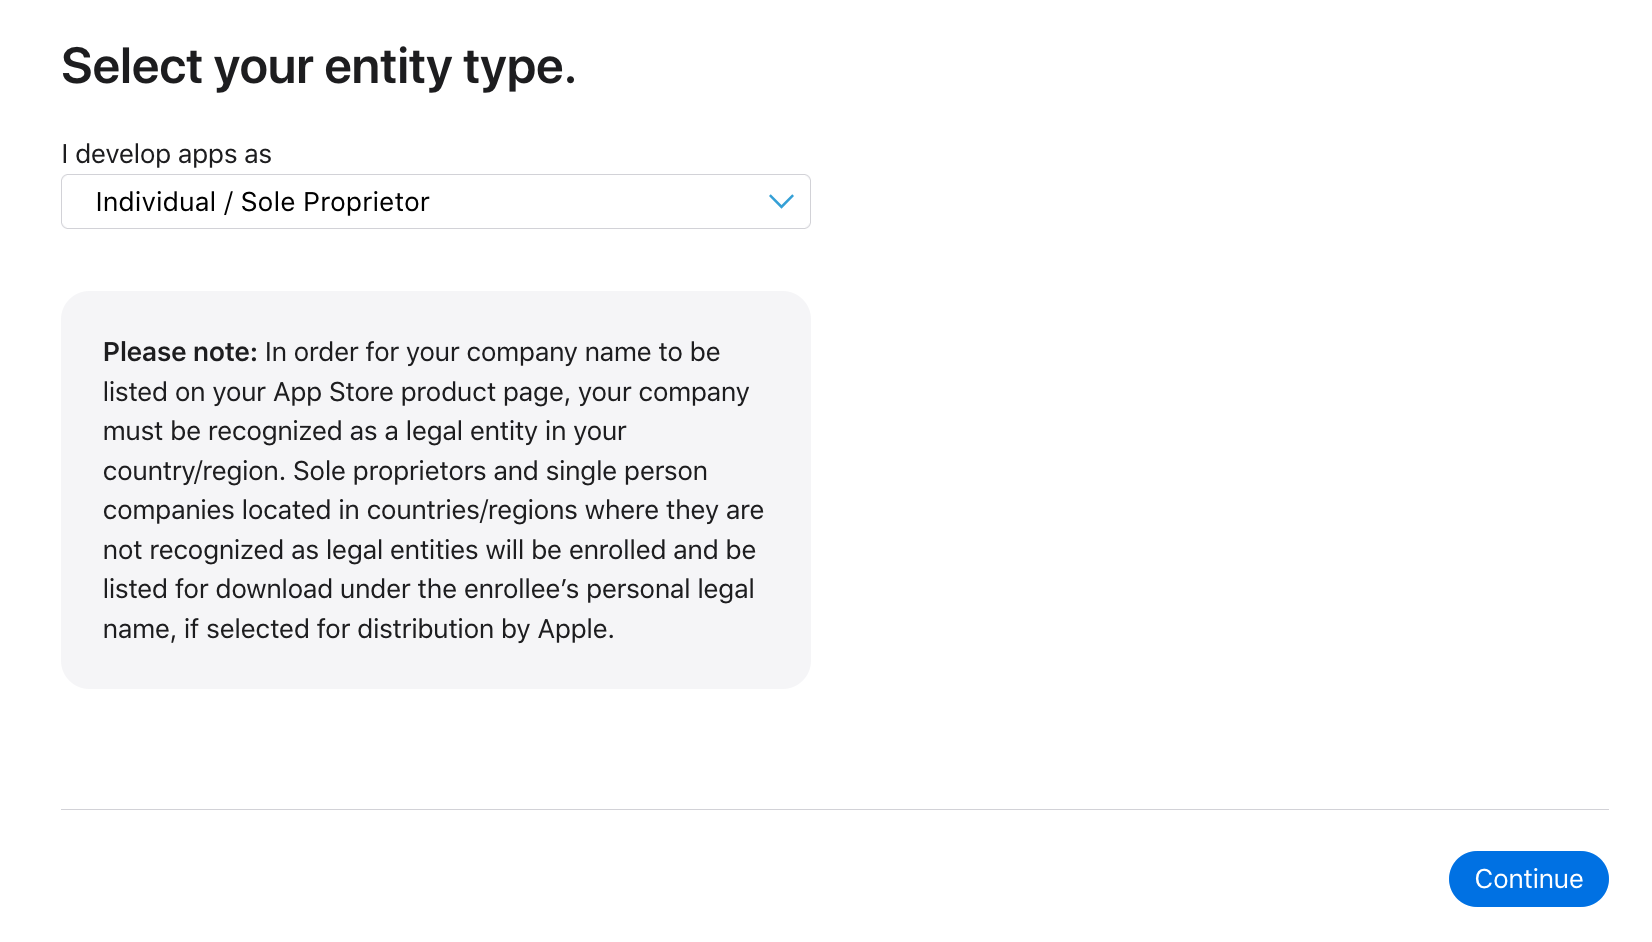
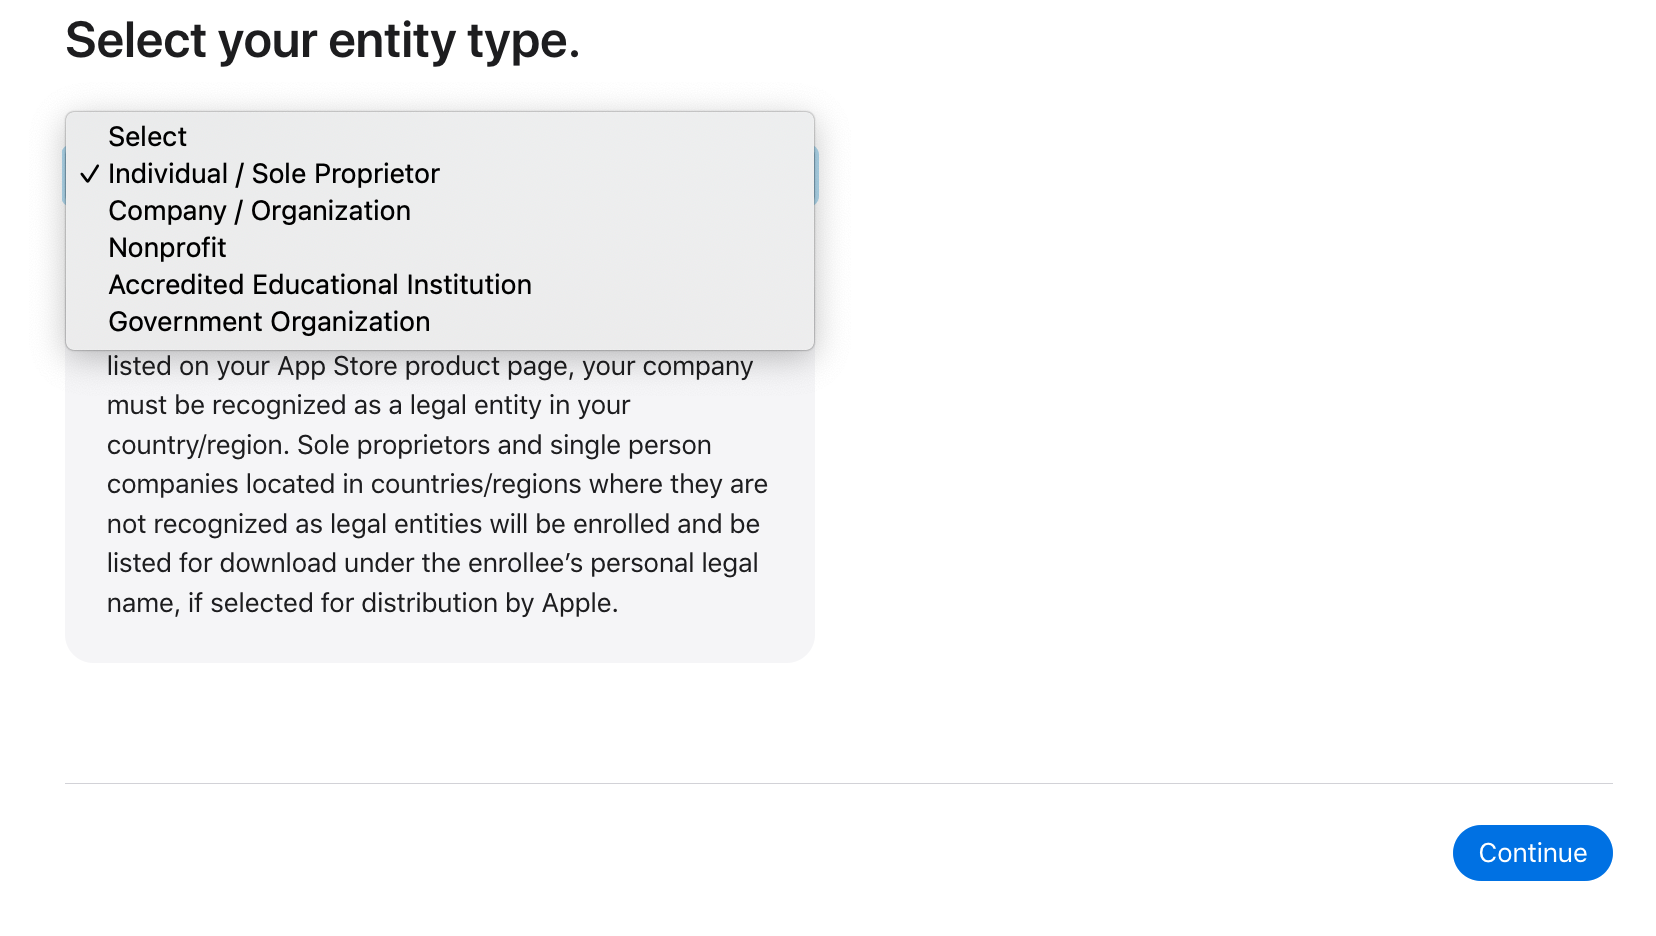
5. Choose your entity type
Note that if you are an organization/company, there may be extra steps involved with creating your account that this tutorial will not cover.
6. Agree to the Apple Developer program terms
7. Start the purchase process after deciding whether you want to re-enroll automatically every year
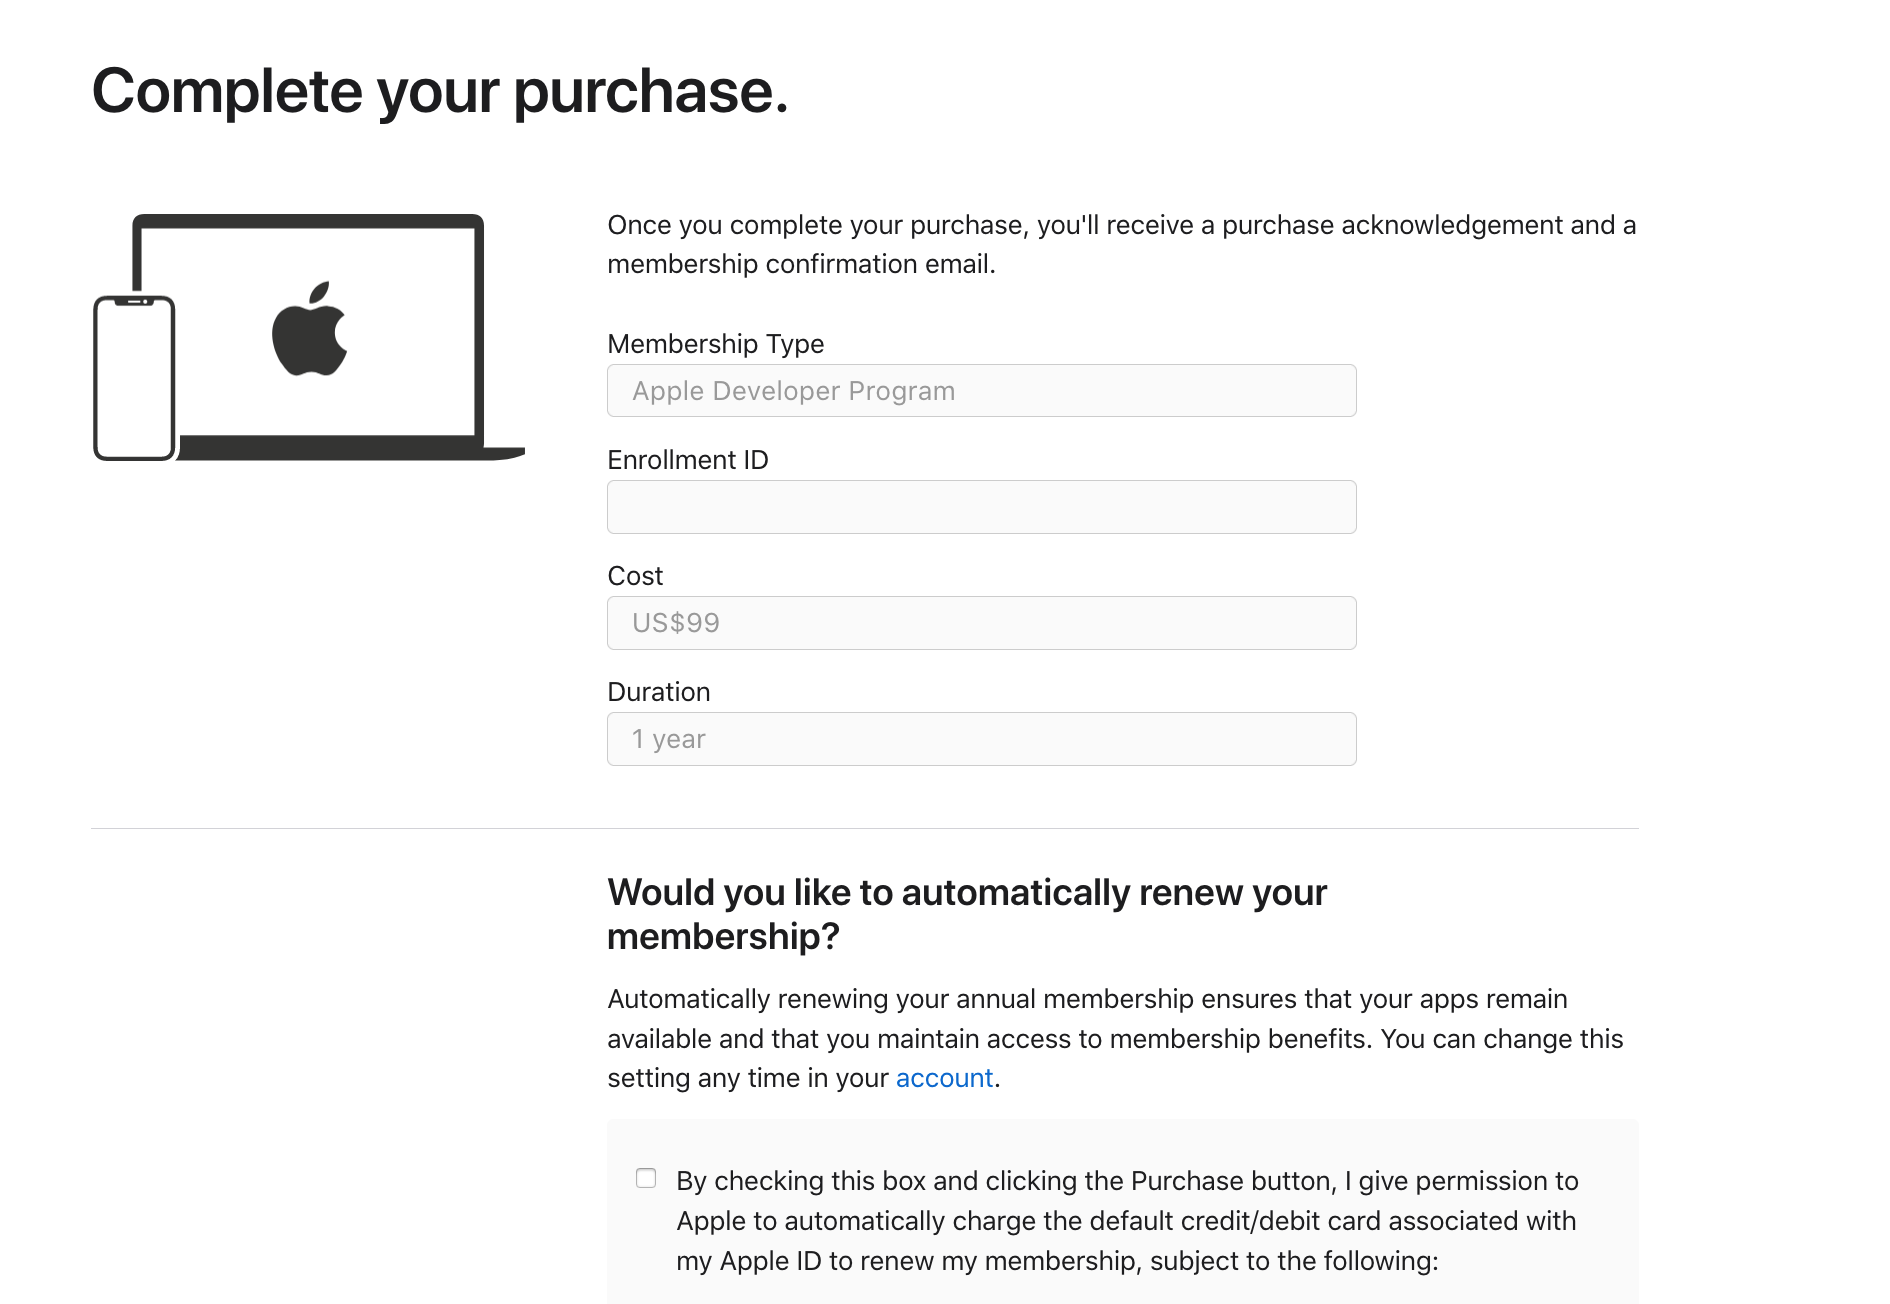
8. Finish the purchase process
You will need to fill in your billing details, might have to sign in again to your Apple ID, and do other things to complete the process.
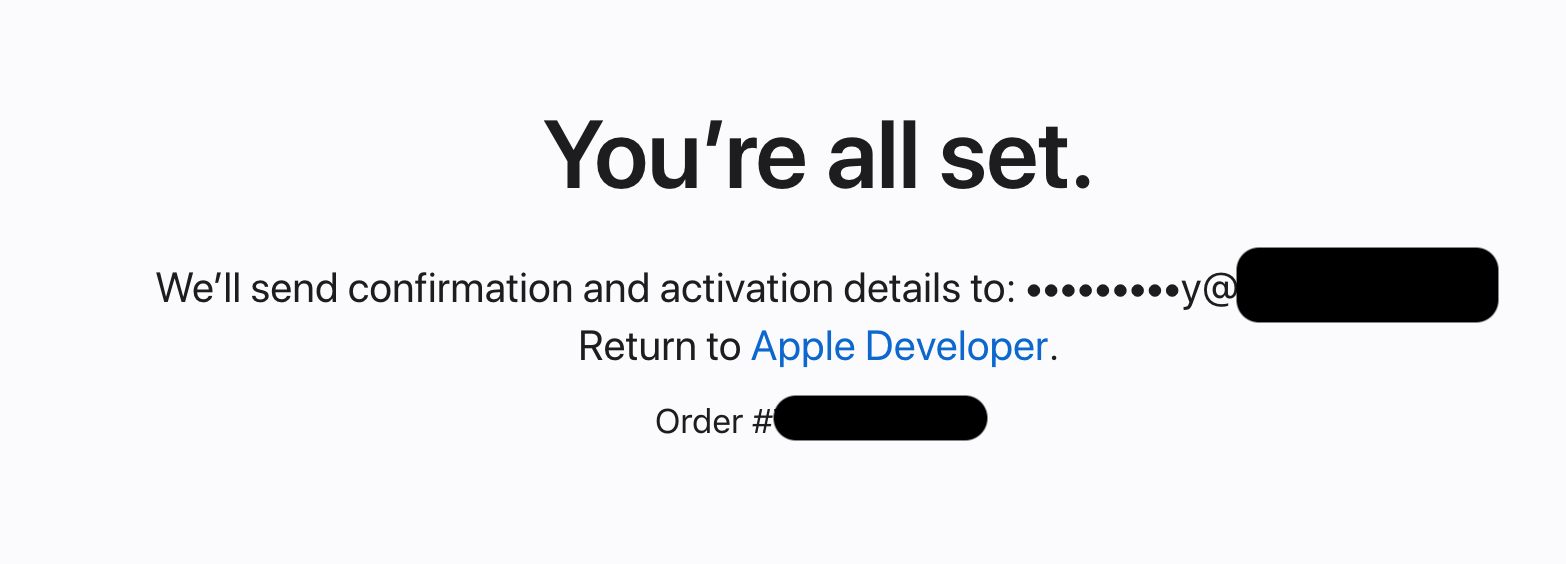
9. You'll know you are done when you see the "You're all set" screen
10. Make sure your account has 2-factor authentication enabled and get an app specific password
- Go to the Apple ID website
- Turn on 2-factor authentication under the Security section
-
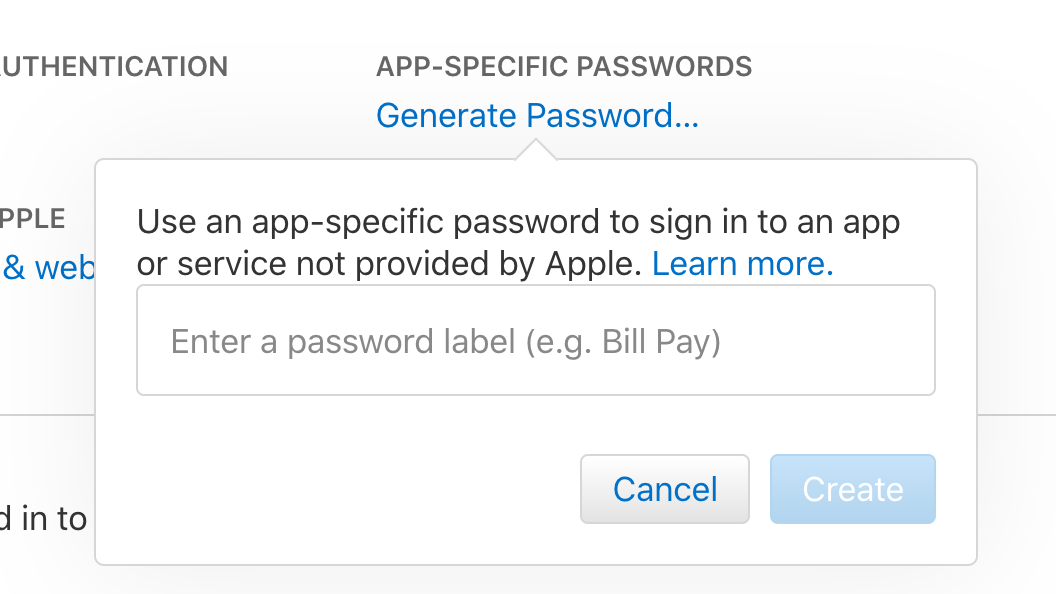
Generate an app specific password. Click "Generate password" under Security, give the password a name, then copy and save this password somewhere. You'll add it to Keychain Access near the end of these steps. You will also get an email from Apple confirming that someone made an app specific password.


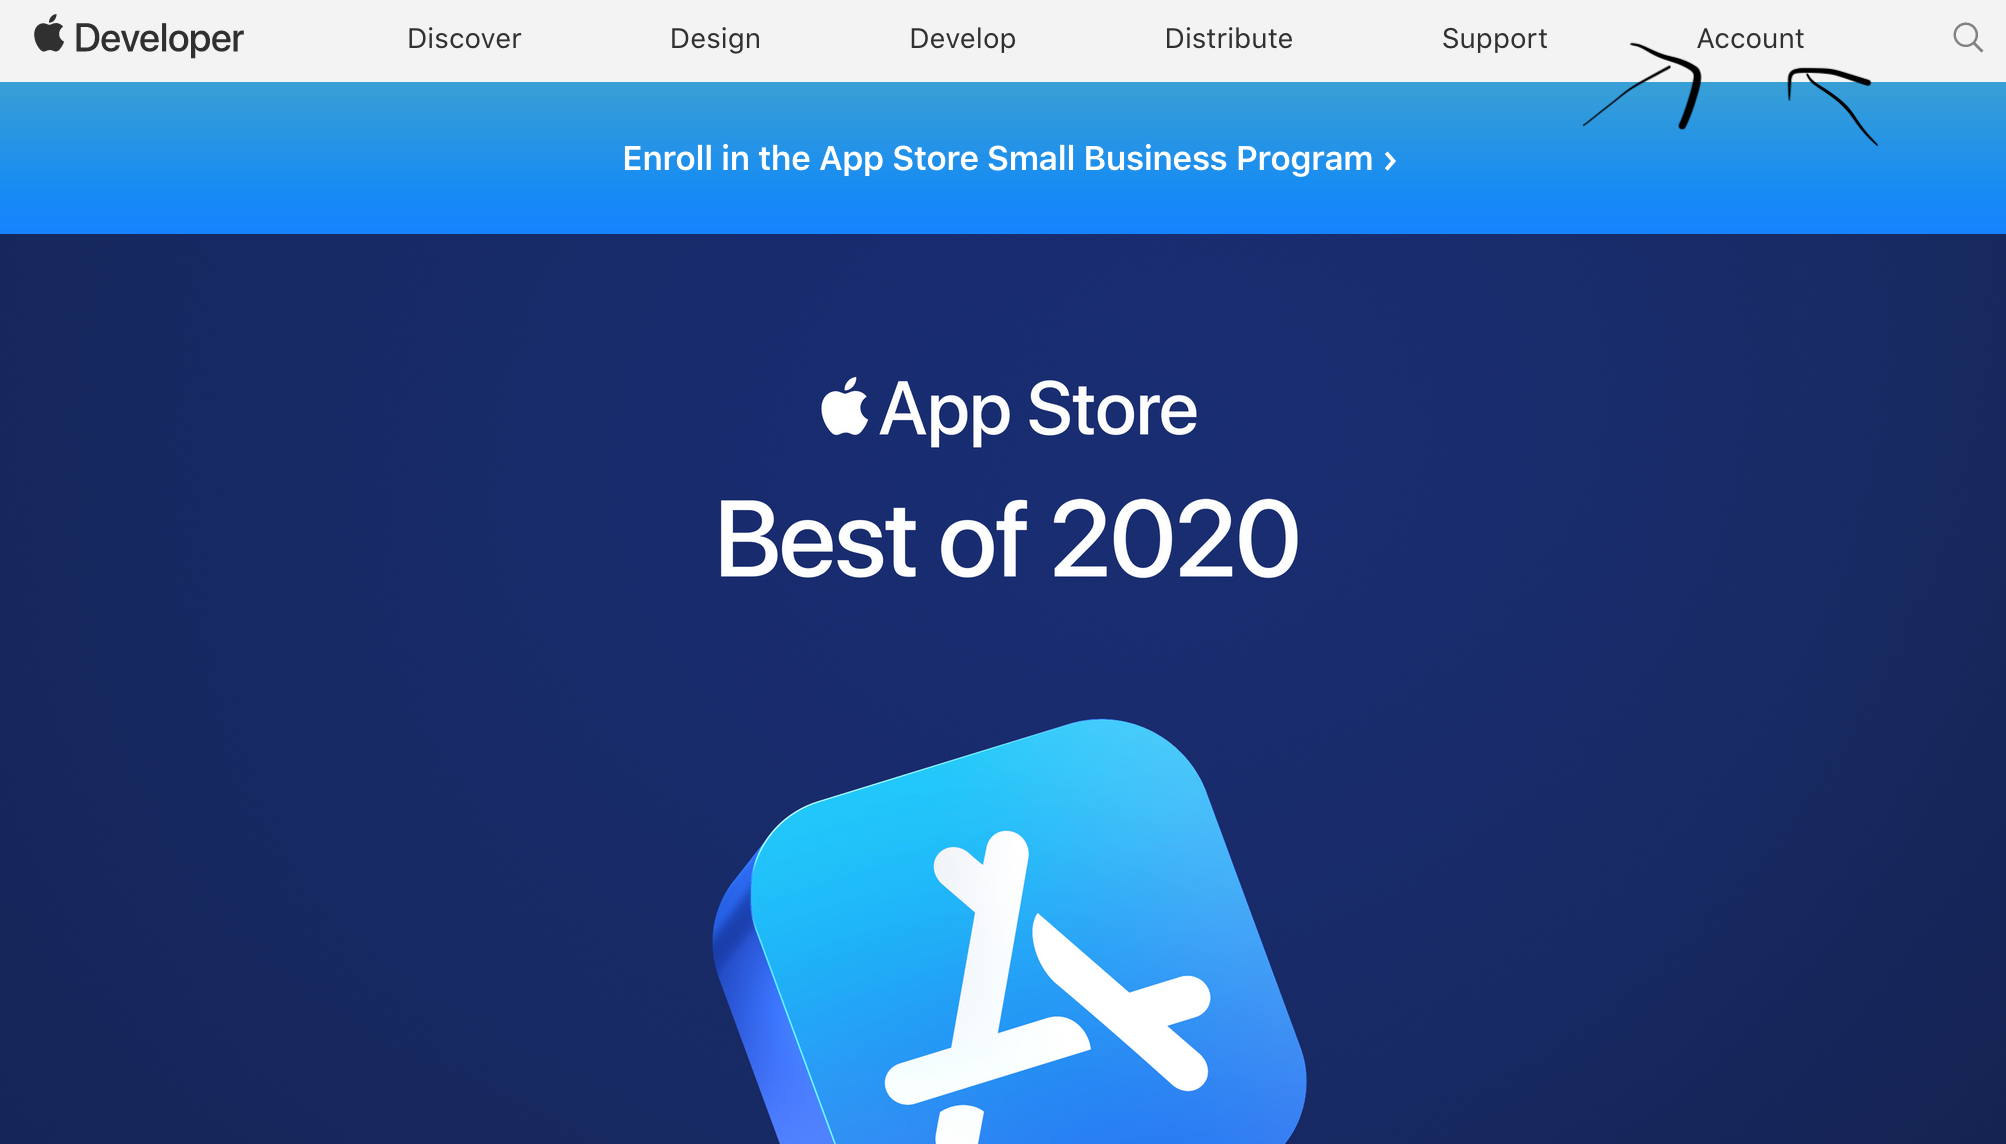
11. Go back to the Apple Developer website
12. Click "Account" in the top right
13. Make sure that the correct team is selected in the top right of the screen
This is only necessary if your Apple ID belongs to more than one team.

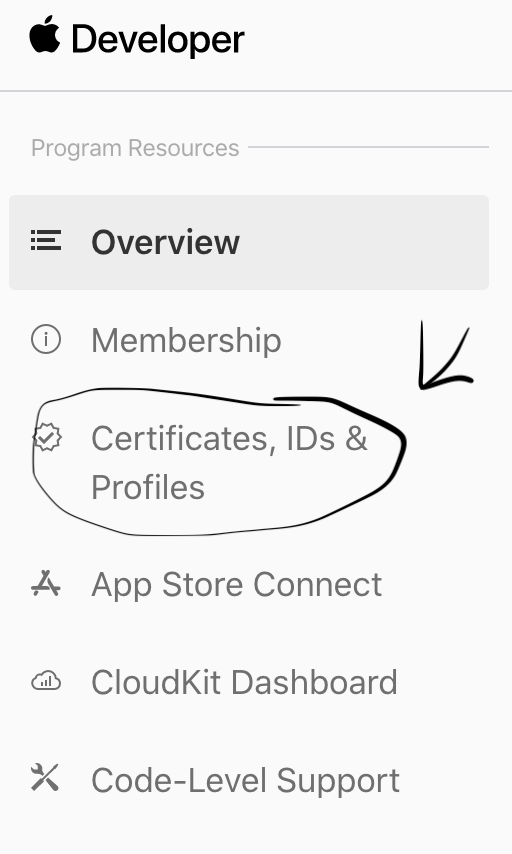
14. Click "Certificates, IDs, & Profiles" on the left
15. Generate a Developer ID certificate
-
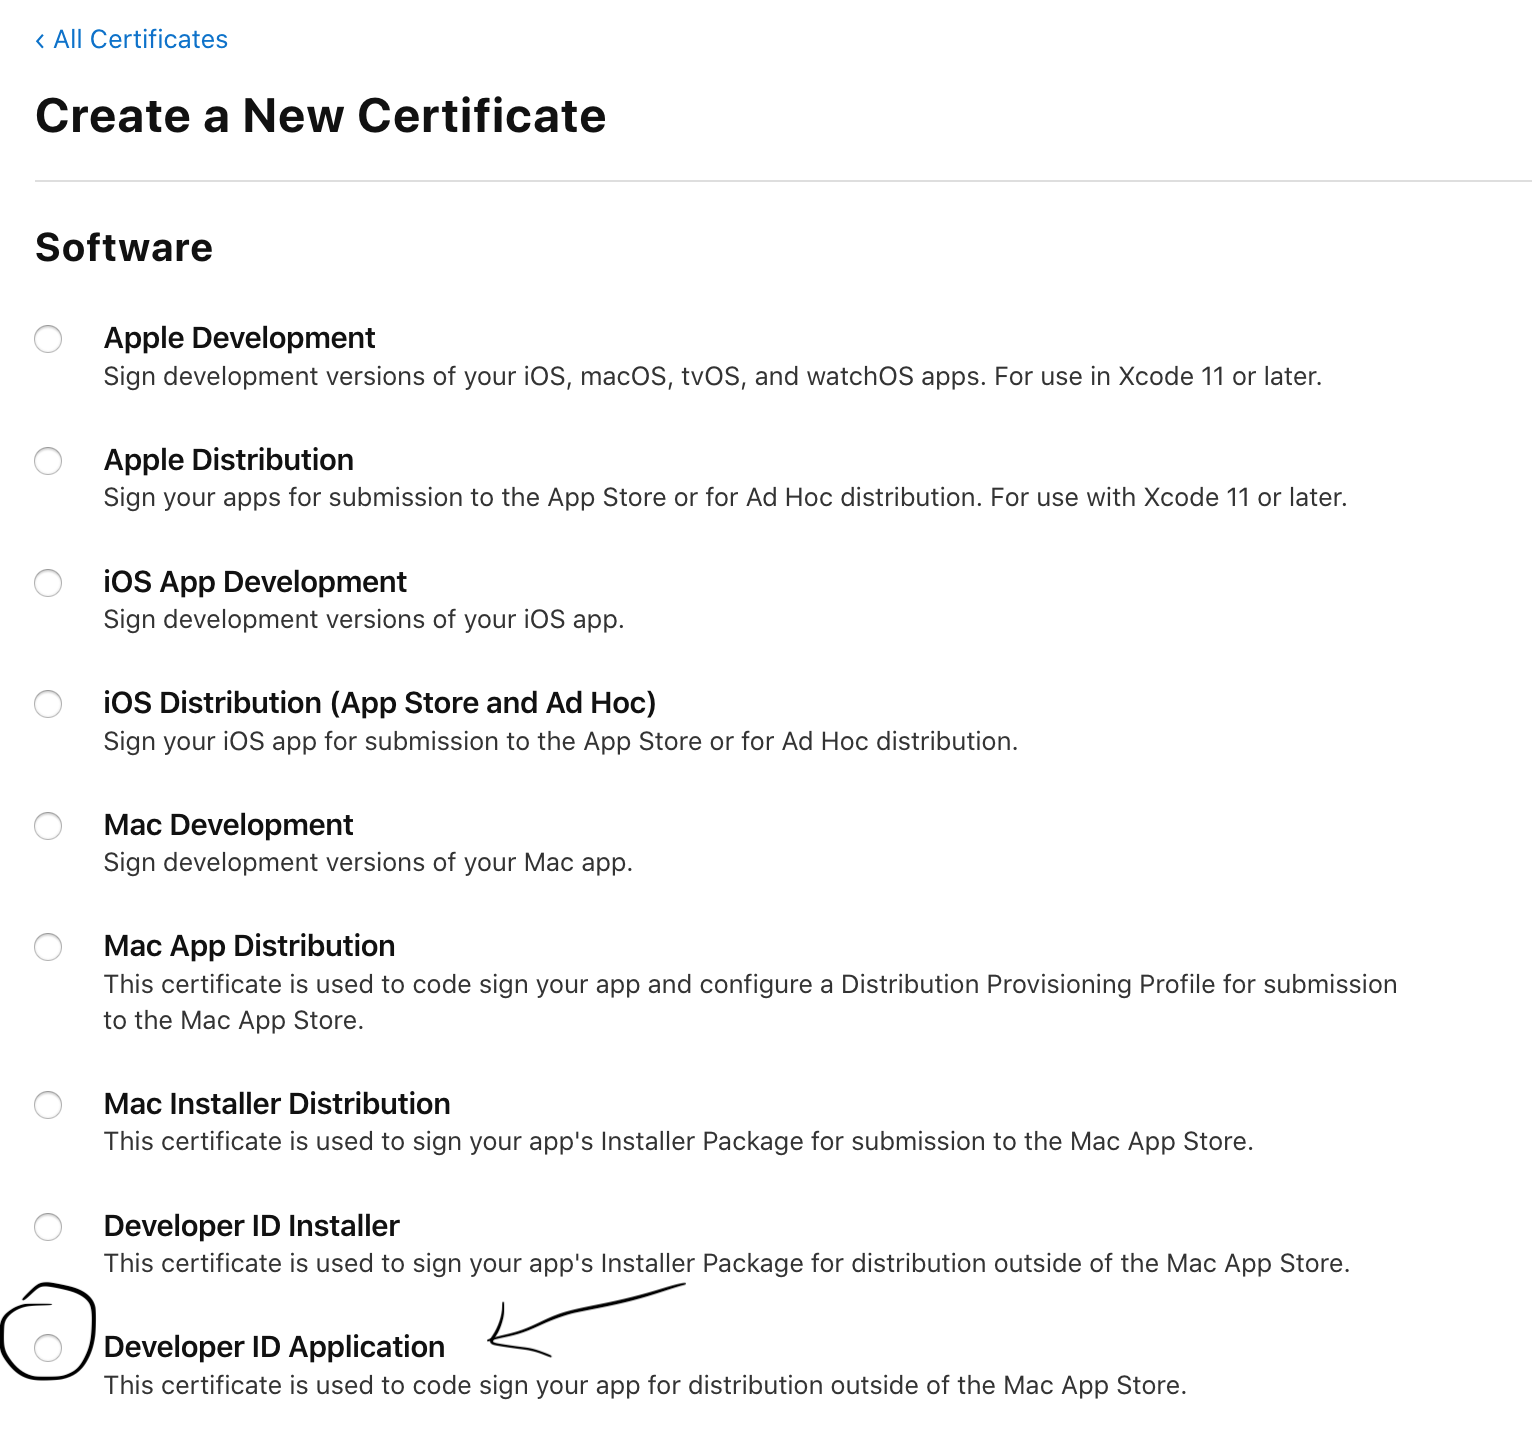
Click the blue "+" in the Certificates section

-
Choose "Developer ID Application"
-
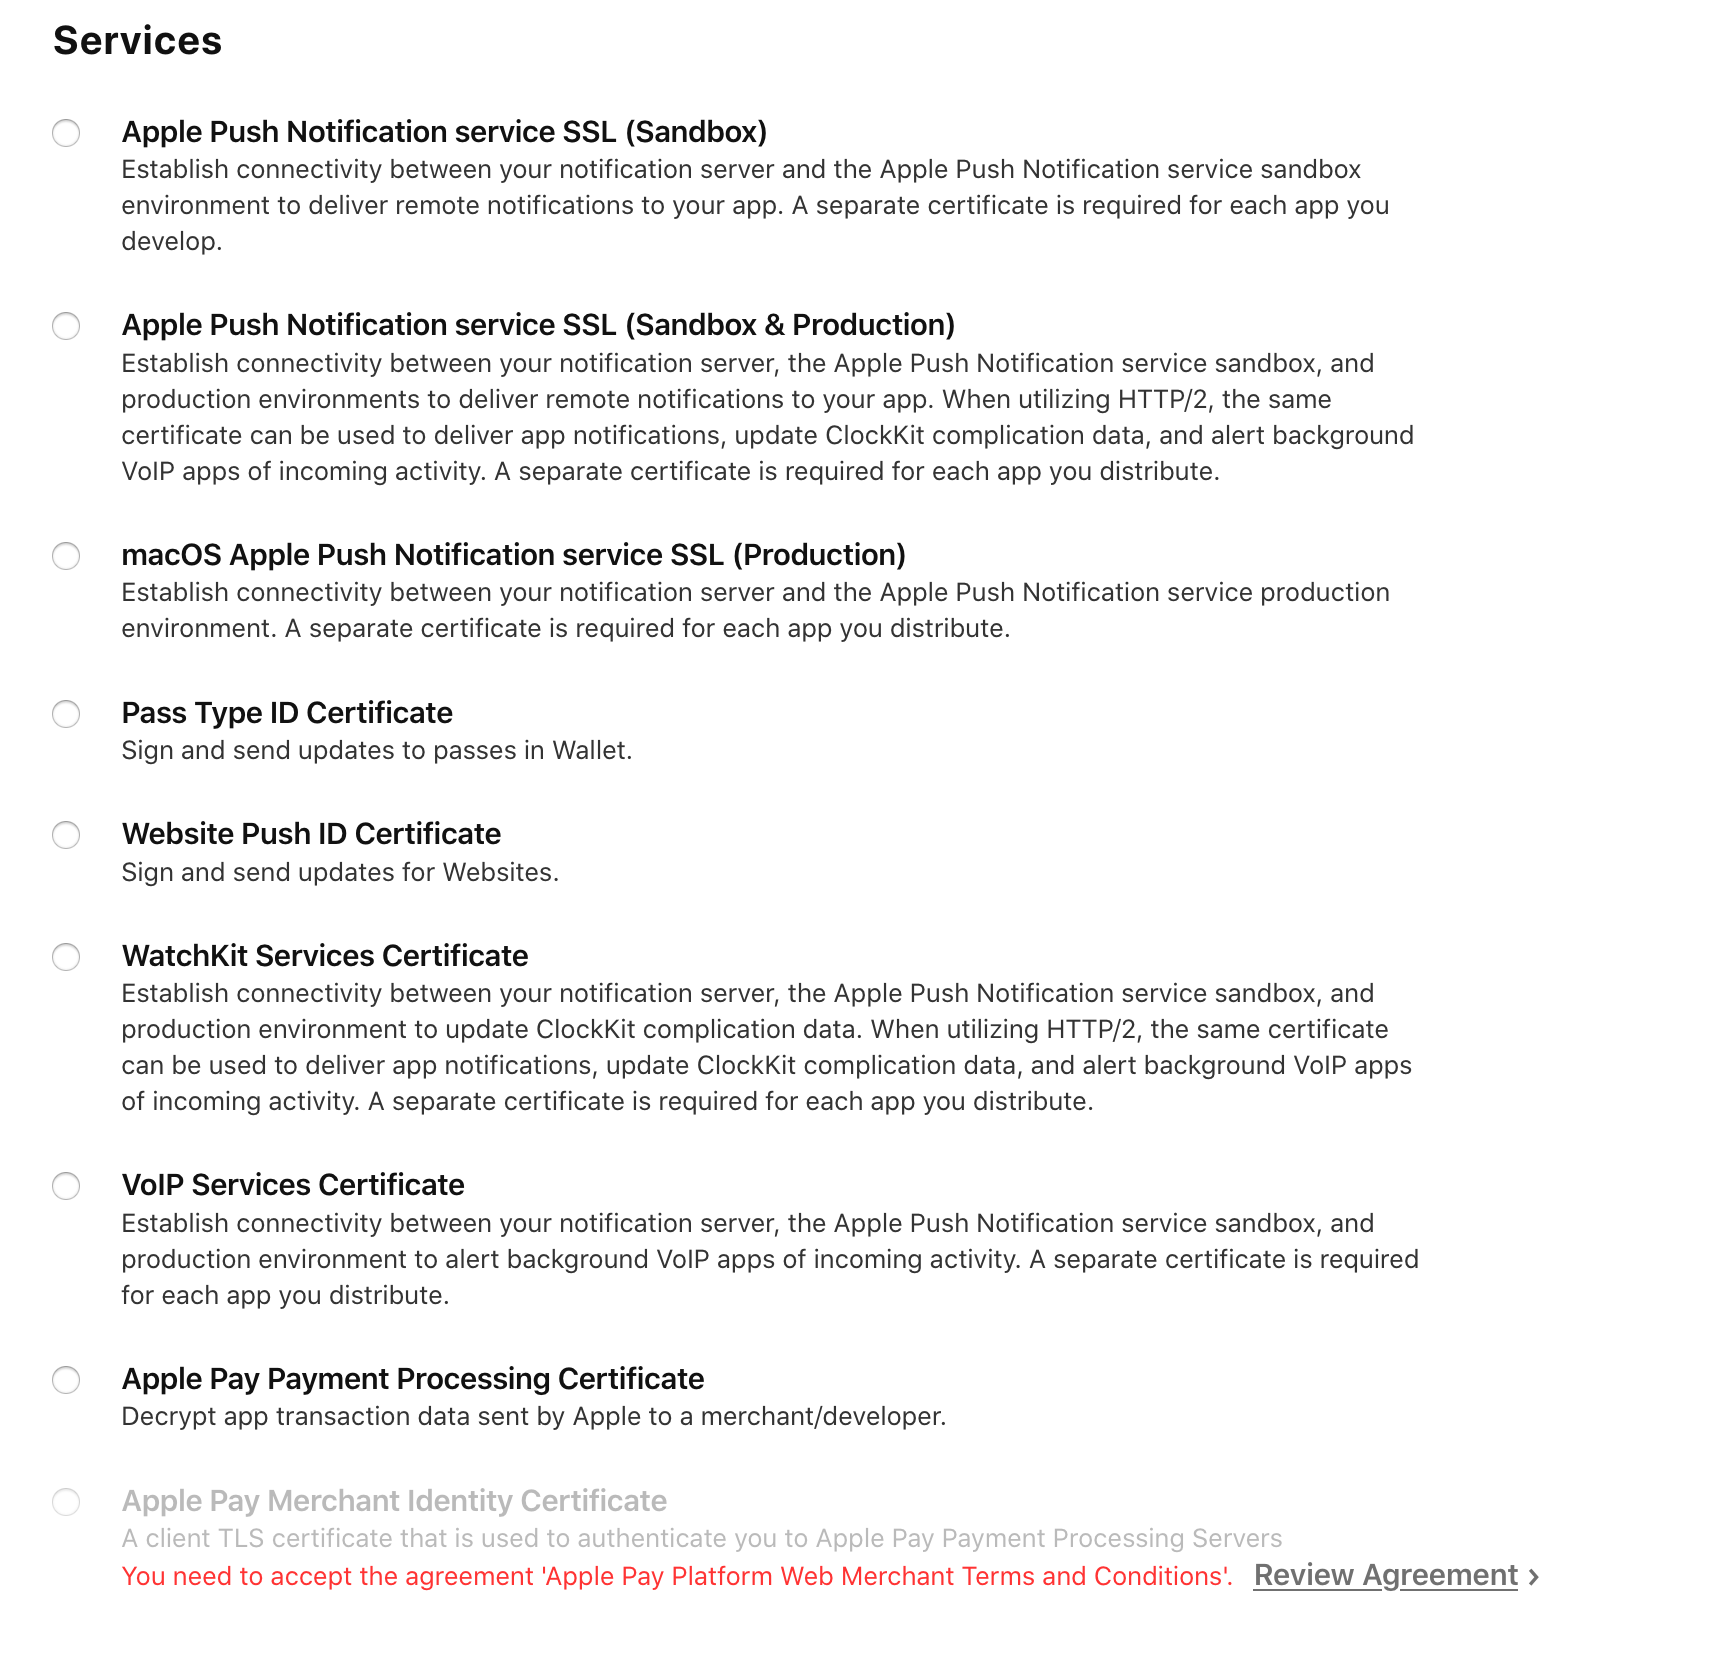
If you need any of the other capabilities, make sure to select whicever options on that page that you need, too.
-
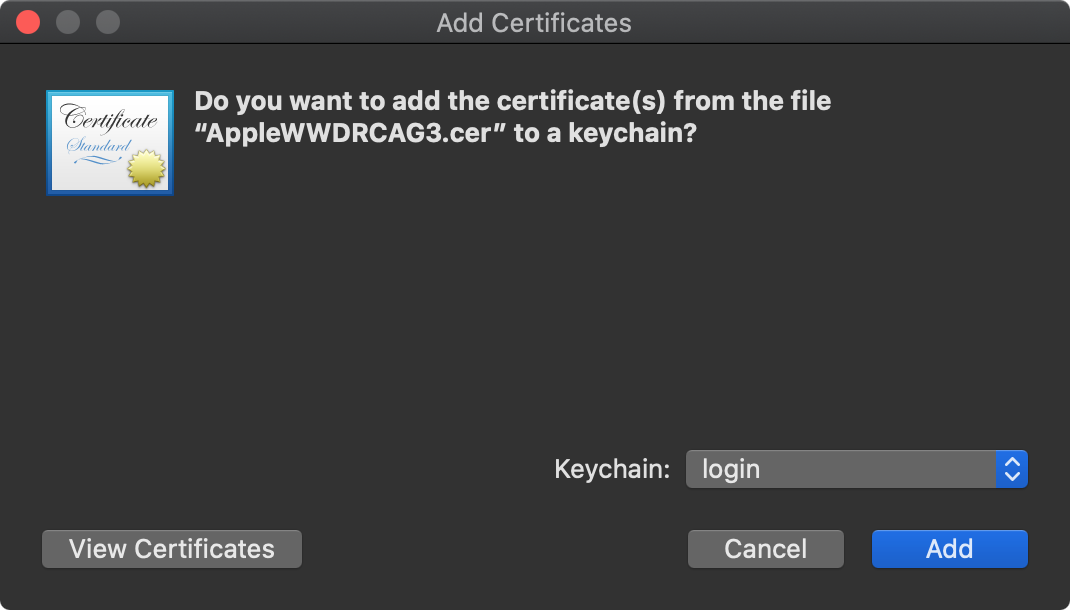
If you have Xcode installed already and are confident that you have the latest Apple certificate authority installed, skip this step. It will not hurt anything if you do not skip this step, so we recommend doing it anyway. At the bottom of the screen, download the "Worldwide Developer Relations Certificate Authority" certificate that expires in 2030. Choose/double-click to open it in Keychain Access, then add the certificate to your keychain.

- Click "Continue" in the top right.
- You now have to upload a certificate signing request.
- Open Keychain Access on your Mac
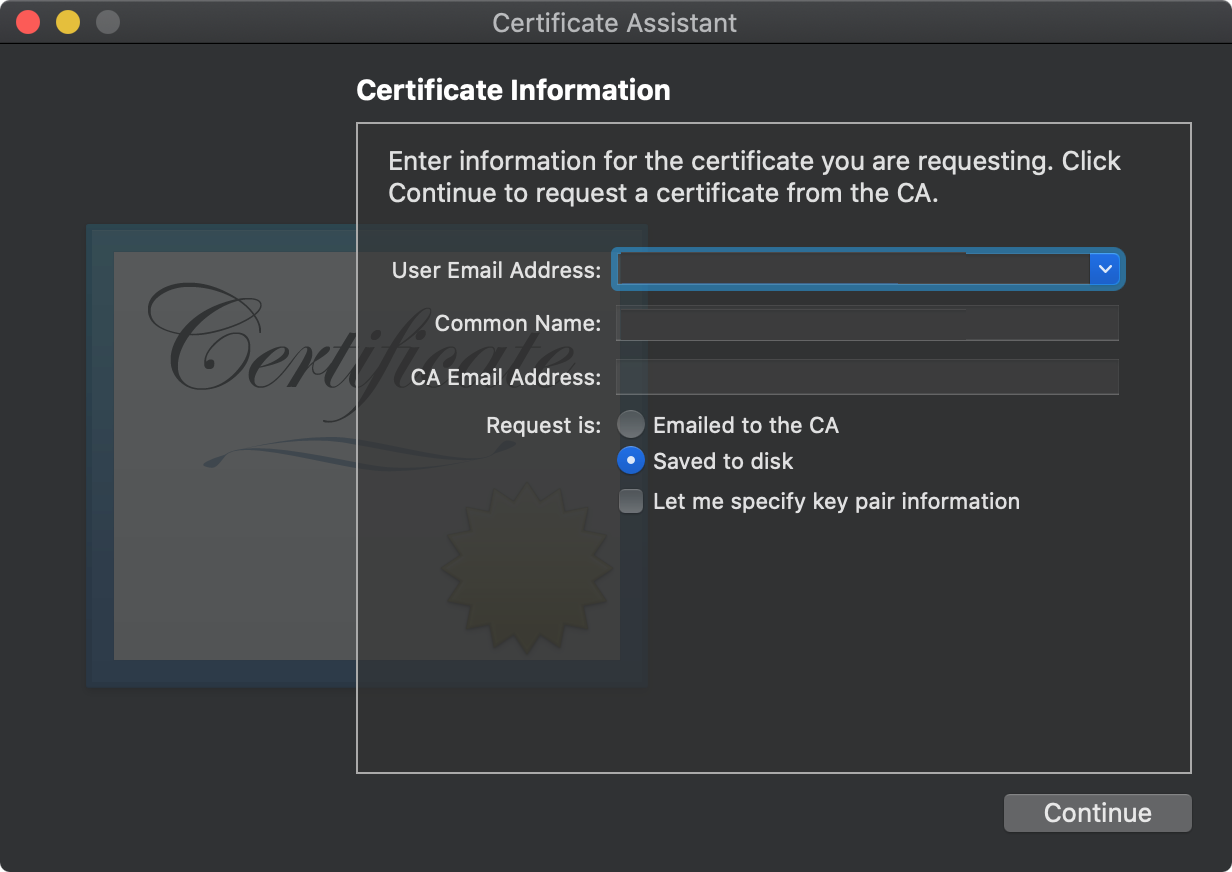
- In the menu bar, choose "Keychain Access" -> "Certificate Assistant" -> "Request a Certificate from a Certificate Authority..."
-
Put your Apple ID email in the user email address, put your name in "Common Name", and leave "CA Email Address" empty. Then click "Continue".
-
Save the file somewhere, then choose/upload this file in your web browser to the Apple certificates page where it is asking for a certificate signing request.
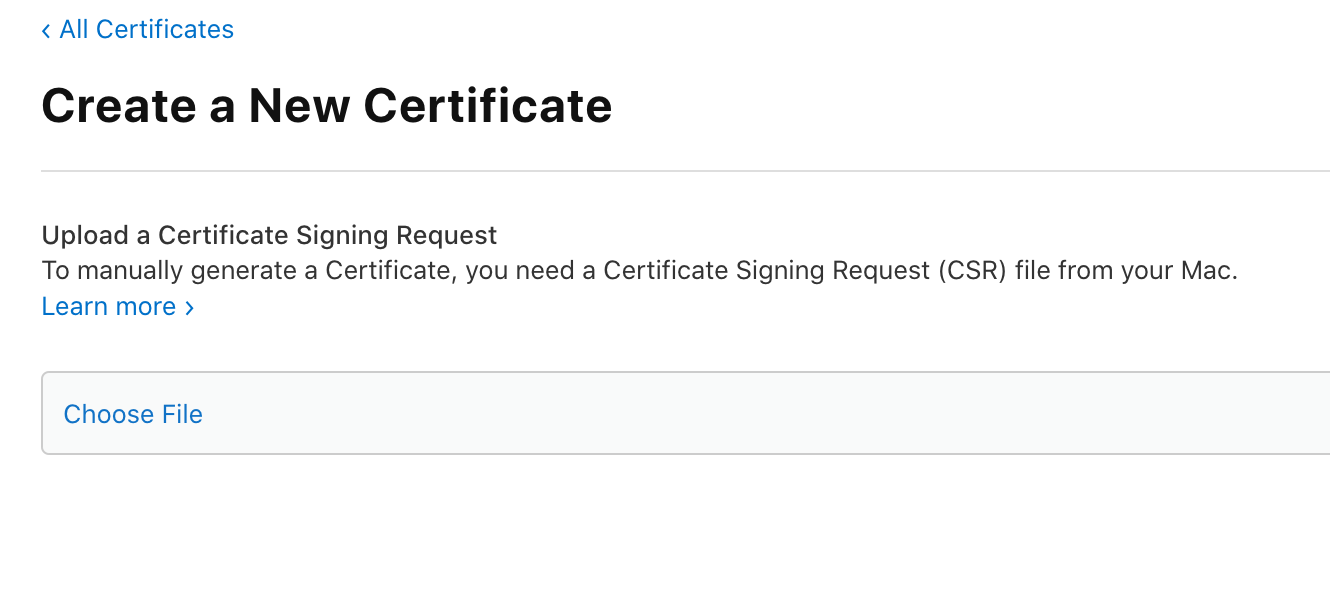
16. Click "Continue" in the top right
17. Download your certificate via the "Download" button on the top right
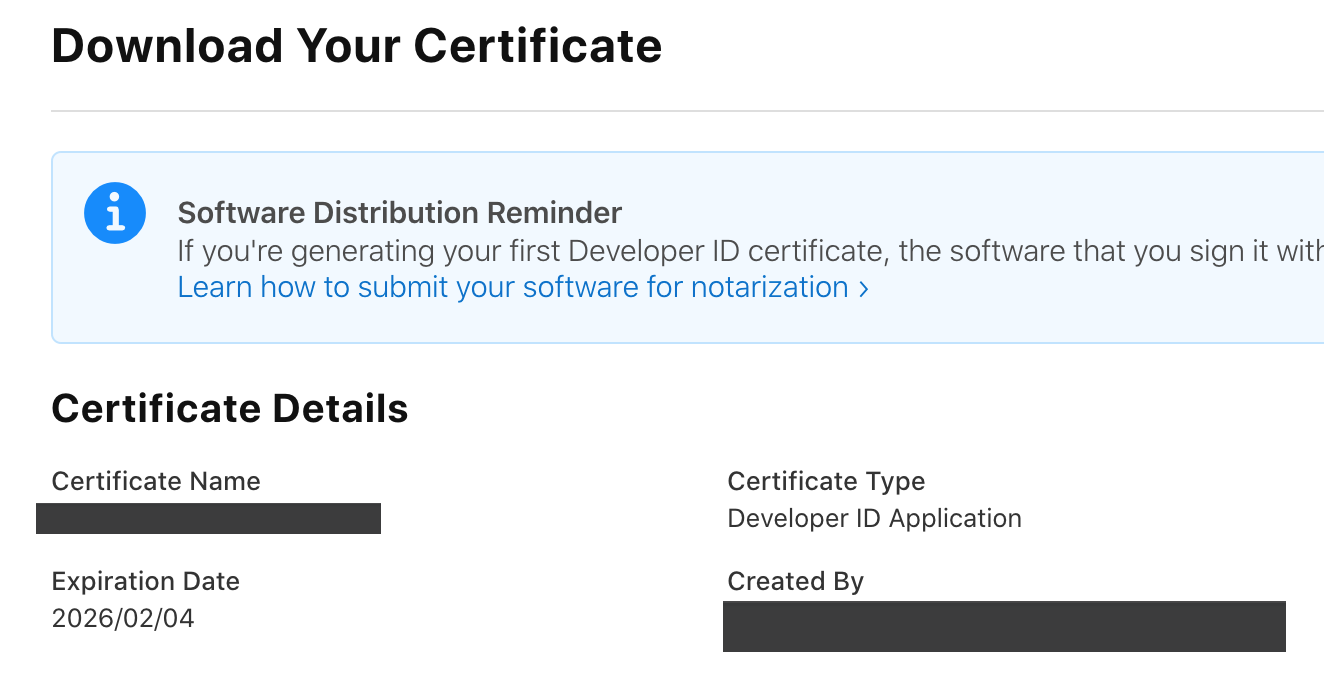
18. Double click the downloaded file (.cer extension) to install it in Keychain Access.

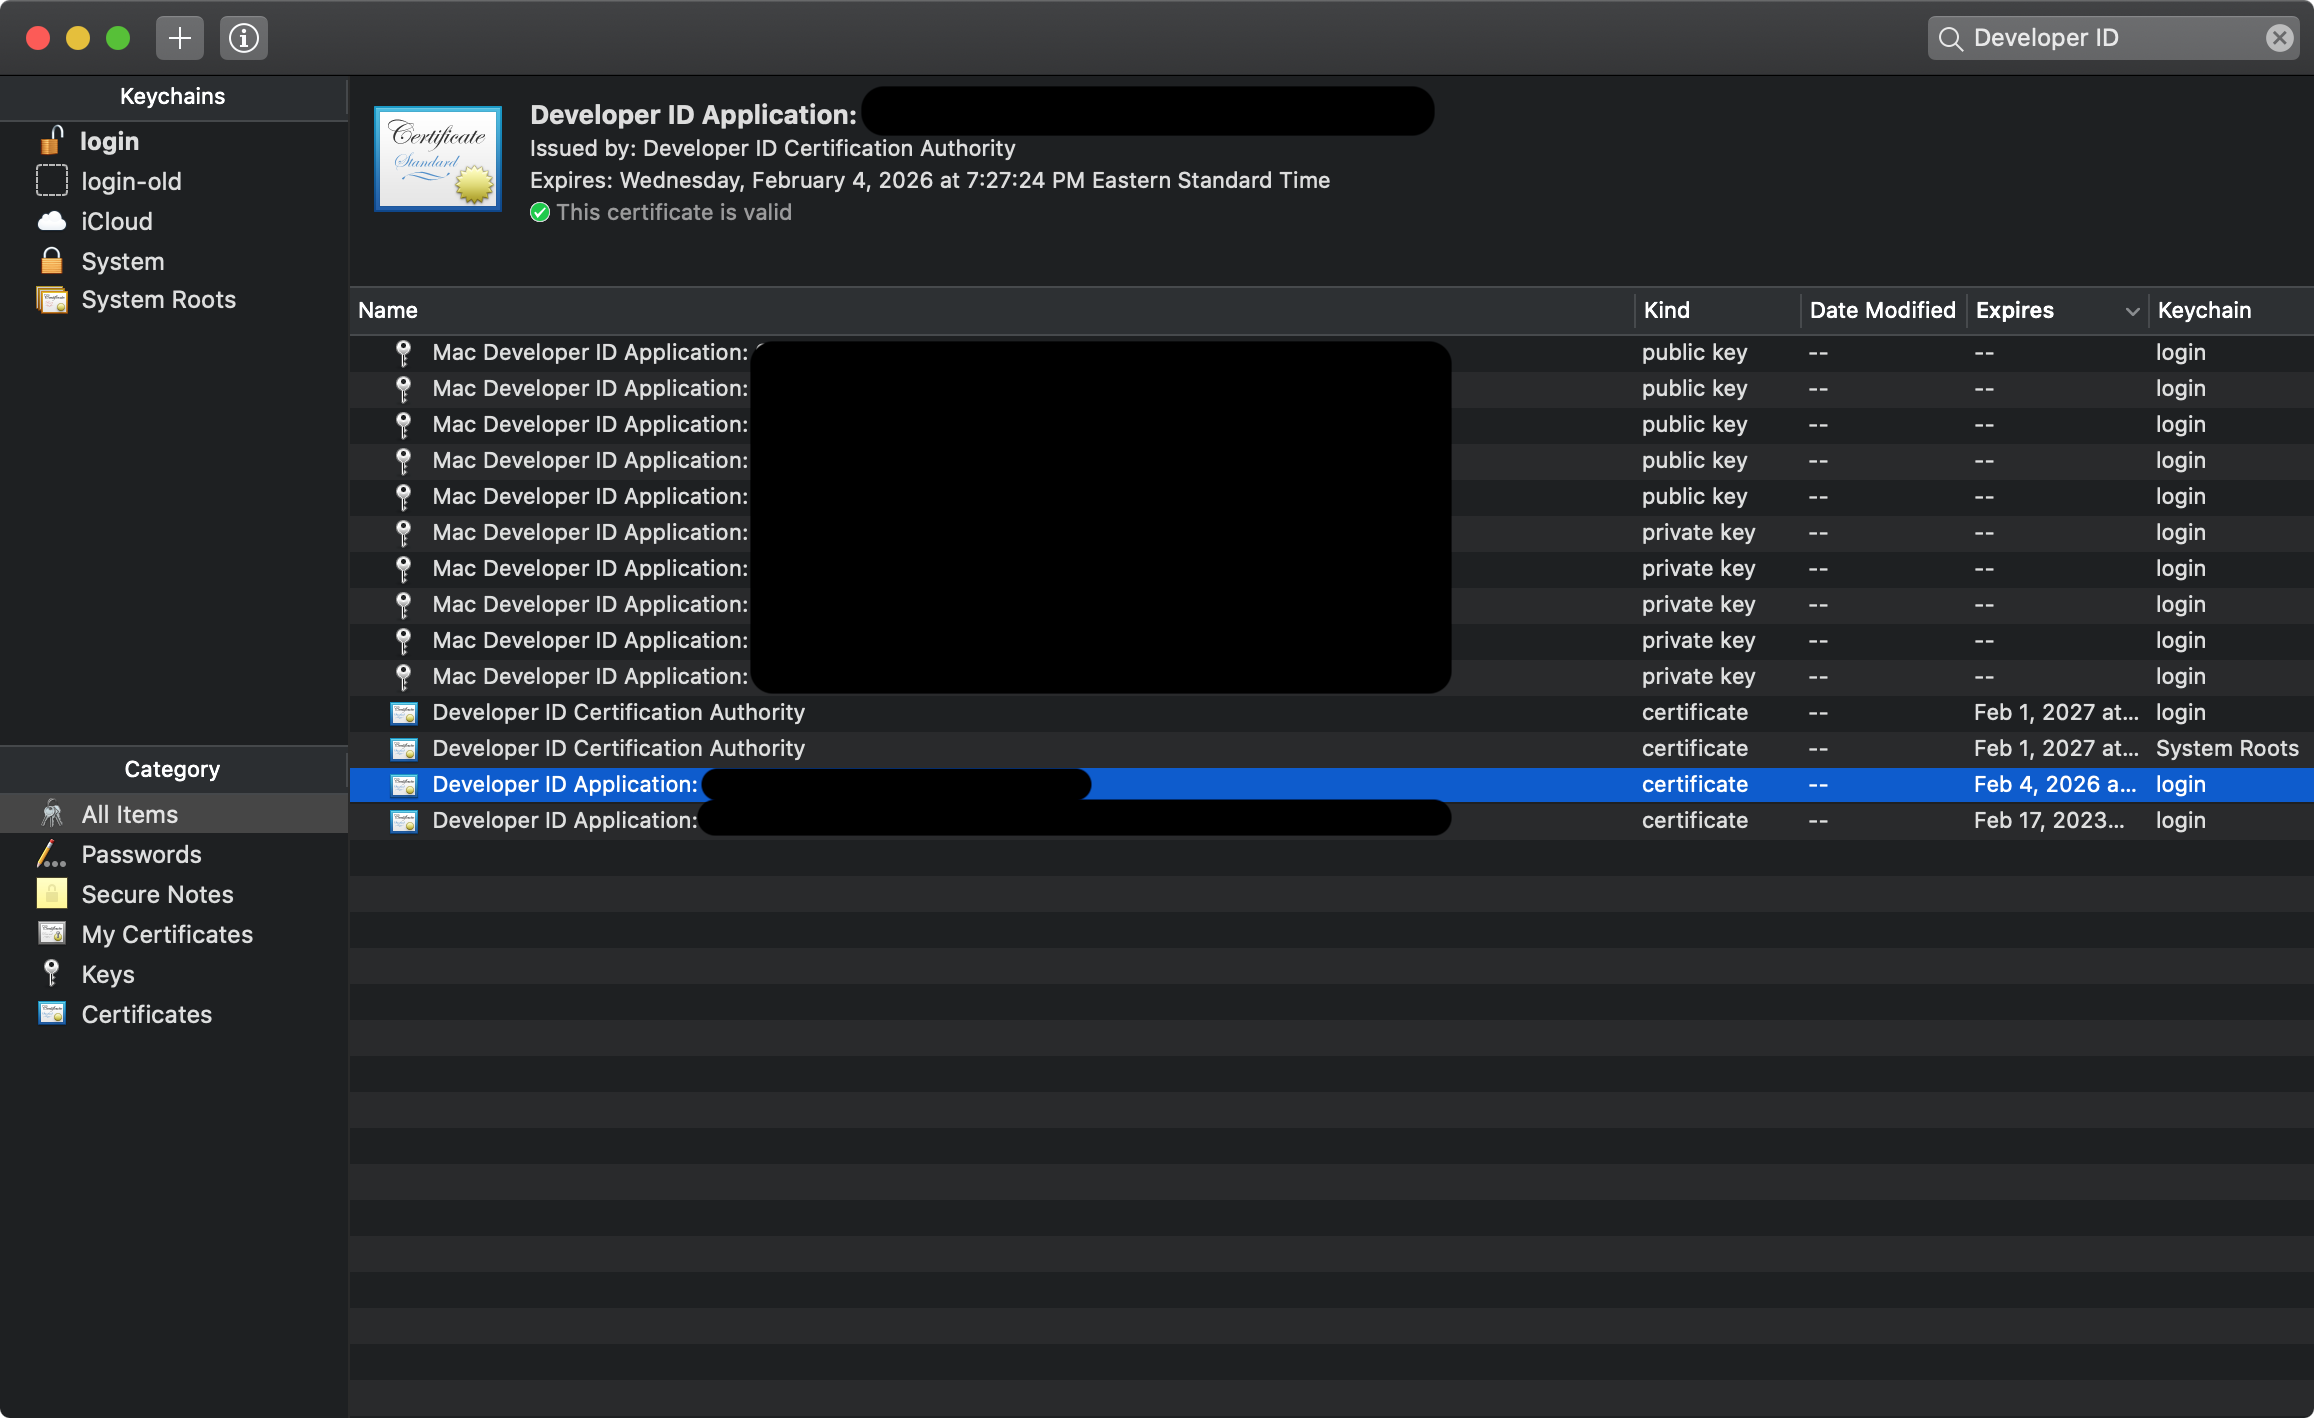
19. Open Keychain Access again and find your certificate
Search for the Developer ID certificate that you just installed (search for "Developer ID" in the search bar). It will have your developer name in it, and it will expire 5 years from the date you created it. This verifies that the certificate is installed.
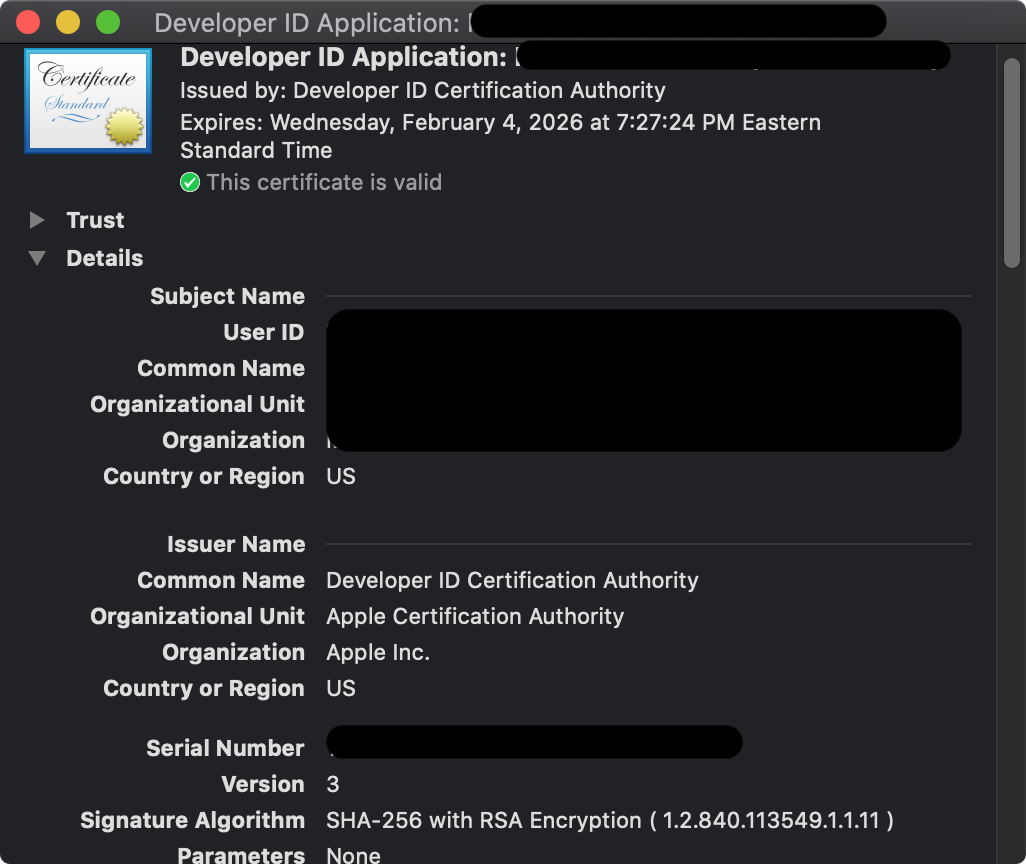
20. Double click the certificate to open it and copy some fields from it
Copy the "Common Name" field. ("Developer ID Application: My Name (AAA4U1PBBB)"). In DotPurple, this text should be put in the "Code Signing Identity" text box. You'll need this later along with your app specific password (see next step).
If you belong to more than one organization, you might also need the text under "Organizational Unit", so copy that somewhere and save it too. (also known as your organizational ID -- sequence of letters and numbers in all caps). In DotPurple, this is called the Provider Short Name.
21. Add your app specific password to keychain access
You now need to add your app specific password from step 10 to Keychain Access. Click the + button near the top left in Keychain Access, give the item a name (you'll need this exact keychain name later -- it goes in DotPurple in the Notarization section under "Keychain Access Password Name", so don't forget it), give it an account name (same as your Apple ID username/email), and put the password in the Password box. Make sure not to copy any whitespace! Click "Add" to save it to your keychain.
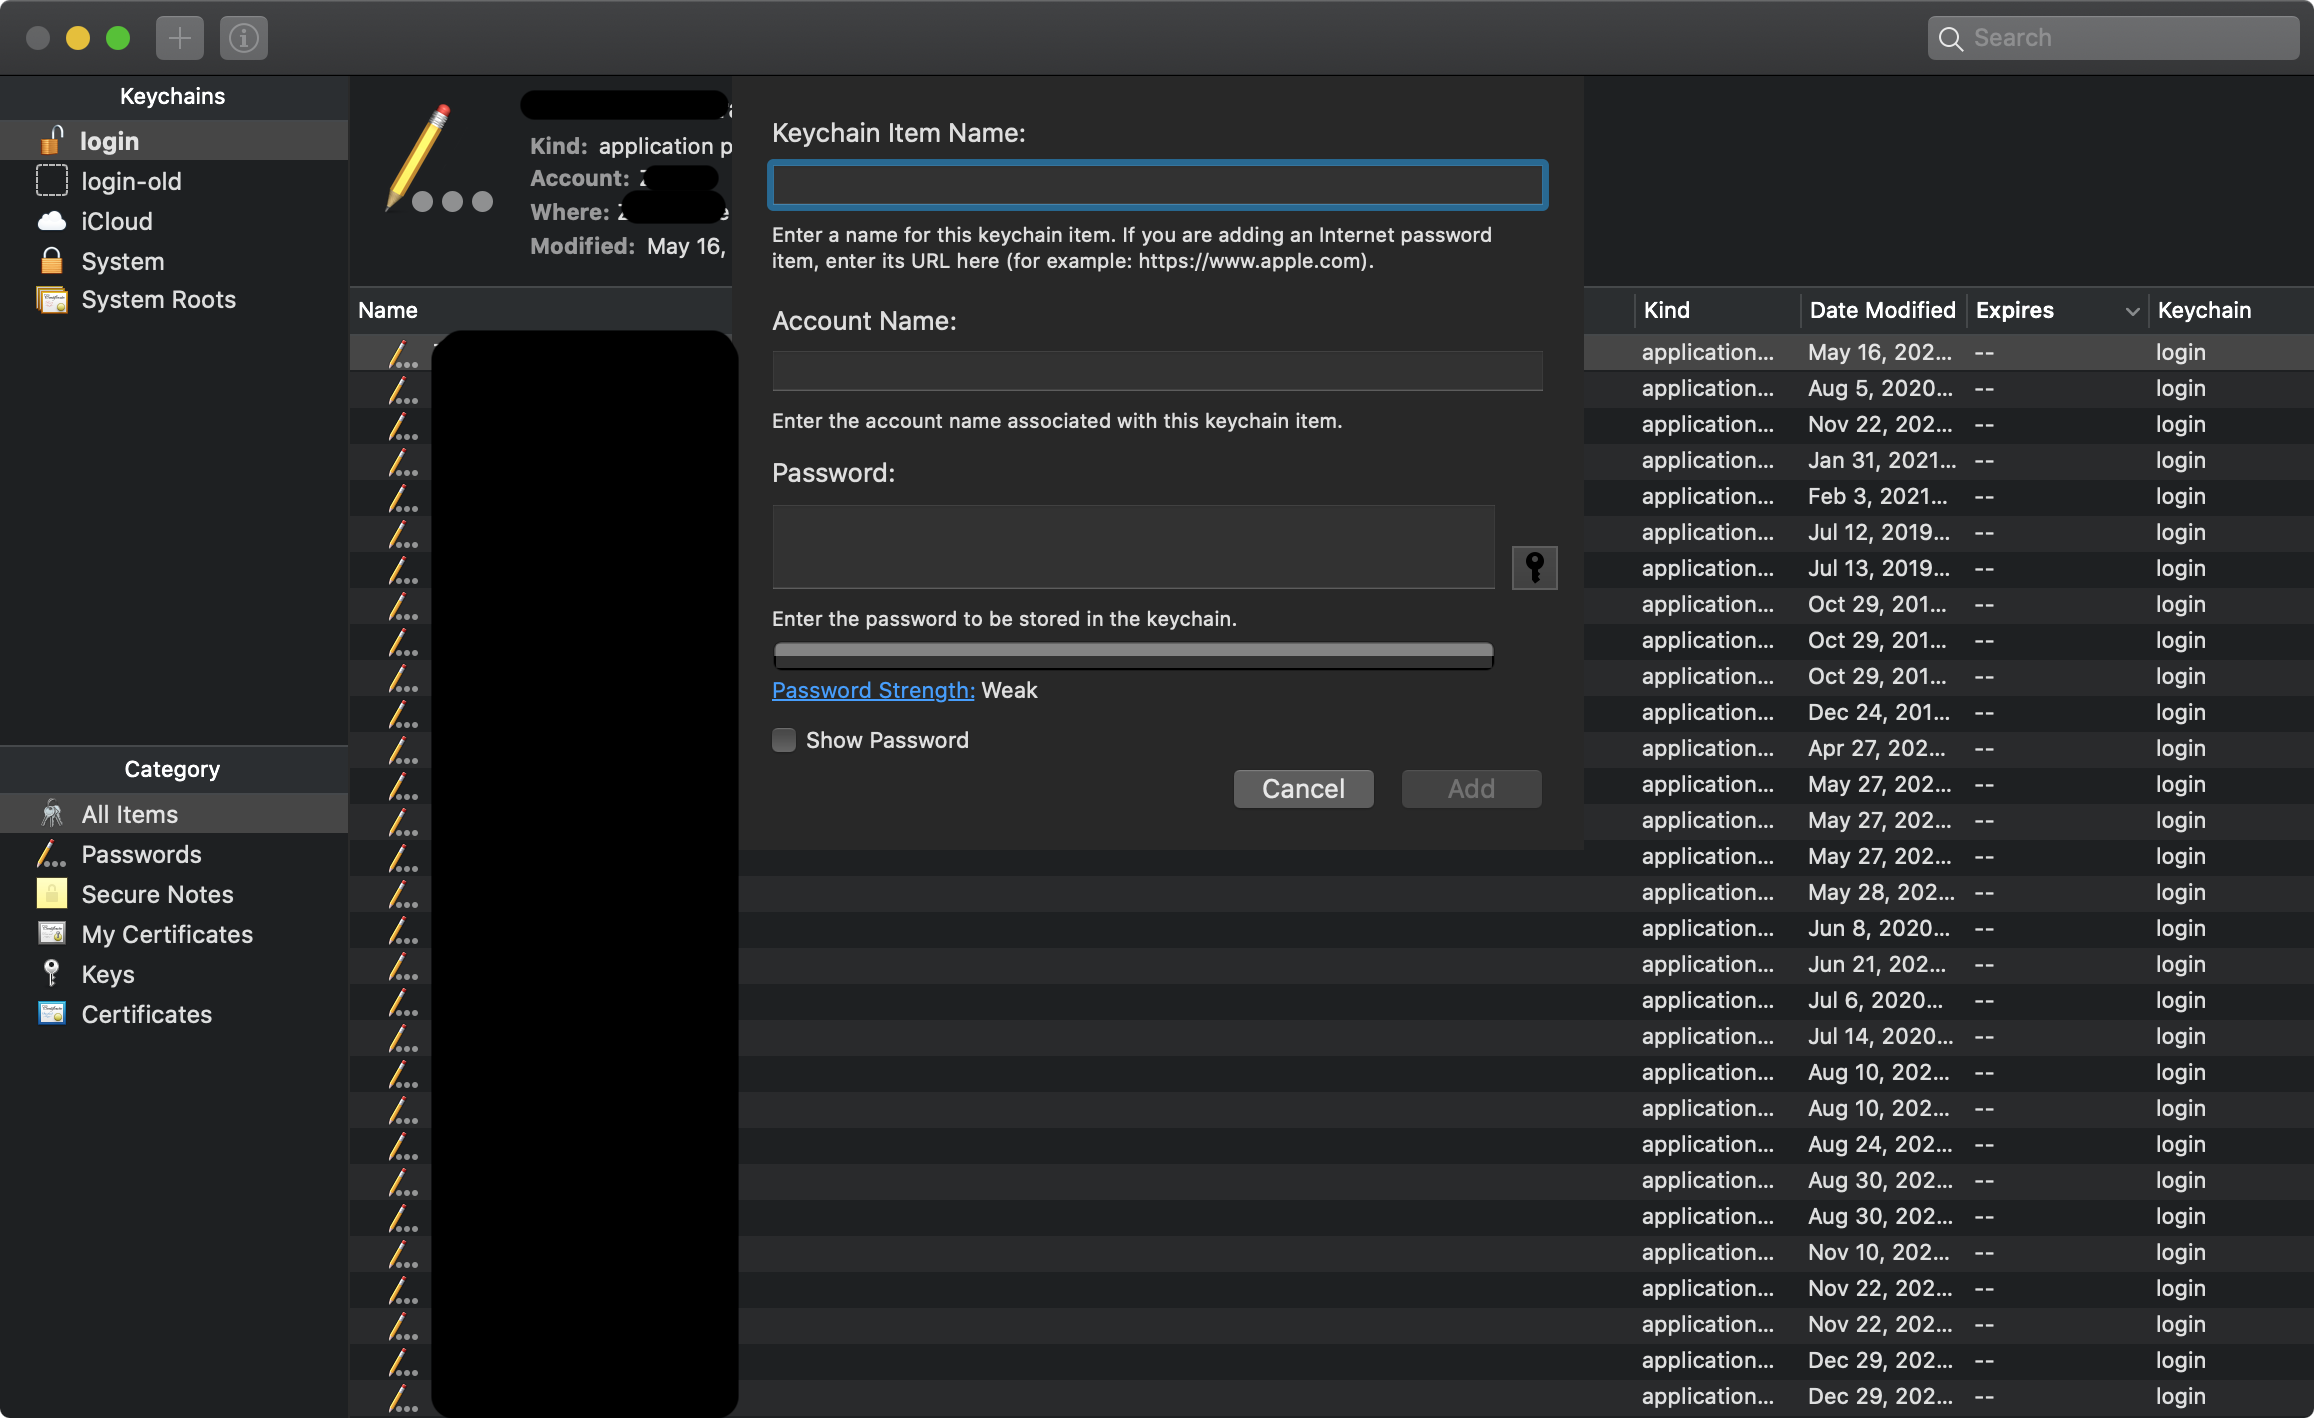
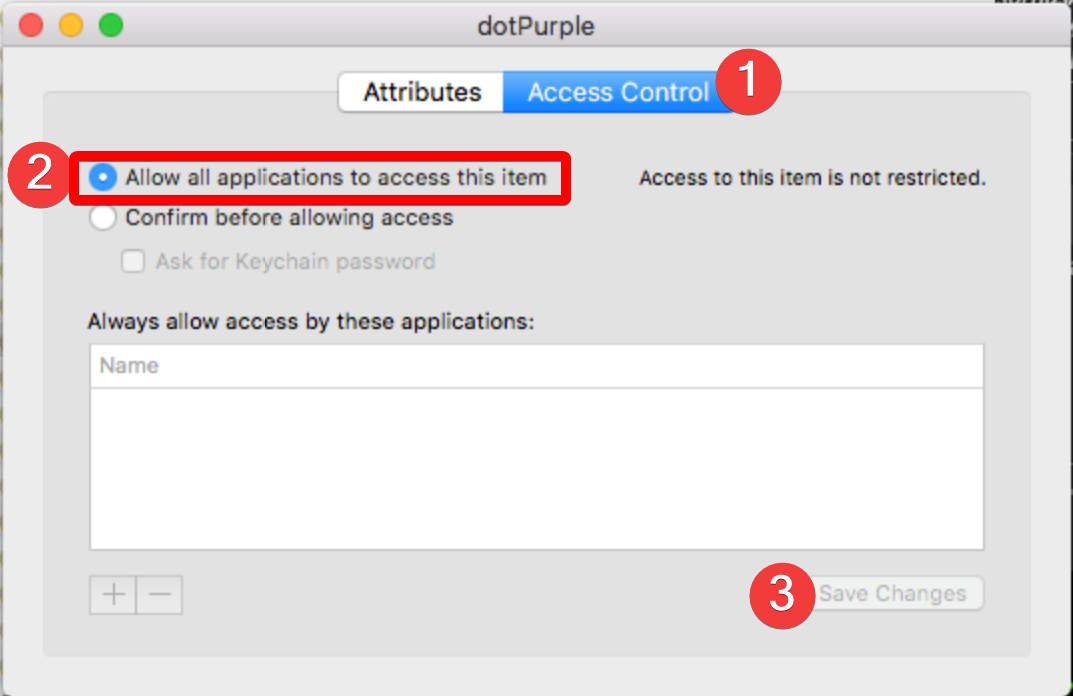
Note: On some systems, you may need to allow all applications to access your Keychain Access app specific password. To make this change, find your app specific password in Keychain Access and double click it to open its attributes and access control. Click the "Access Control" tab, choose to allow all applications to access the keychain item, then save changes. (You can choose to allow access just to the "altool" command line tool, but that is a little more annoying as the file is at this location in Xcode 12: /Applications/Xcode.app/Contents/SharedFrameworks/ContentDeliveryServices.framework/Versions/A/Frameworks/AppStoreService.framework/Versions/A/Support/altool)
Special thanks to Derek Antrican for pointing this out.
22. If using `notarytool` instead of `altool` (`altool` deprecated by Apple), .
Run the following in your terminal: xcrun notarytool store-credentials {PROFILE_NAME} --apple-id "{AppleID}" --team-id {TeamID}. {PROFILE_NAME} can be whatever you like (but you will need to remember this later.) {AppleID} should match your Apple ID email, and {TeamID} should be your Apple Dev Team ID -- see step #20 (the TeamID is the same as the "Organizational Unit"). It will ask you for your app-specific password, so paste that in. You will use the {PROFILE_NAME} later.
You're FINALLY ready to start using DotPurple to notarize your app!
Don't worry, you can re-use the app specific password and Developer ID cert for notarizing multiple applications!
Using DotPurple to notarize applications
1. Purchase a DotPurple Pro license (or use a trial license) if you do not have one
macOS application packing is a paid feature in DotPurple. Please support us by purchasing a license! Once you purchase a license, you can register your software via a license key that will be emailed to you.
2. If you haven't yet added your project with a macOS profile to DotPurple...
- Click "Projects" on the main menu
- Add your project using the dropdown on the top left ("Add..."). You can add either your solution file (.sln) or just your project file. We recommend adding the solution file.
- Open the project by selecting it in the left-hand pane.
- Click the "Profiles" tab in the project screen that opens up.
- Click "Add Profile"
- Choose the "Release" configuration (or whatever configuration you want to put in your application) as well as the "osx-x64" runtime. Other option choices will depend on your project.
- Click "Save"
3. Choose your project file in the Projects section of DotPurple, then click the "Publish" tab and setup any publishing settings you need. Make sure your macOS profile is selected! Click "Save Profile Publish Settings" when done.
Note that you most likely want to check the "Self Contained" checkbox at the very least. By default, if you don't save any specific publish settings for your app in the selected profile, DotPurple will attempt to choose reasonable options for you.
Note that code signing does not work on apps that have been published with single file publish. This is a .NET 5 bug that will be fixed in .NET 6. See this GitHub bug report.
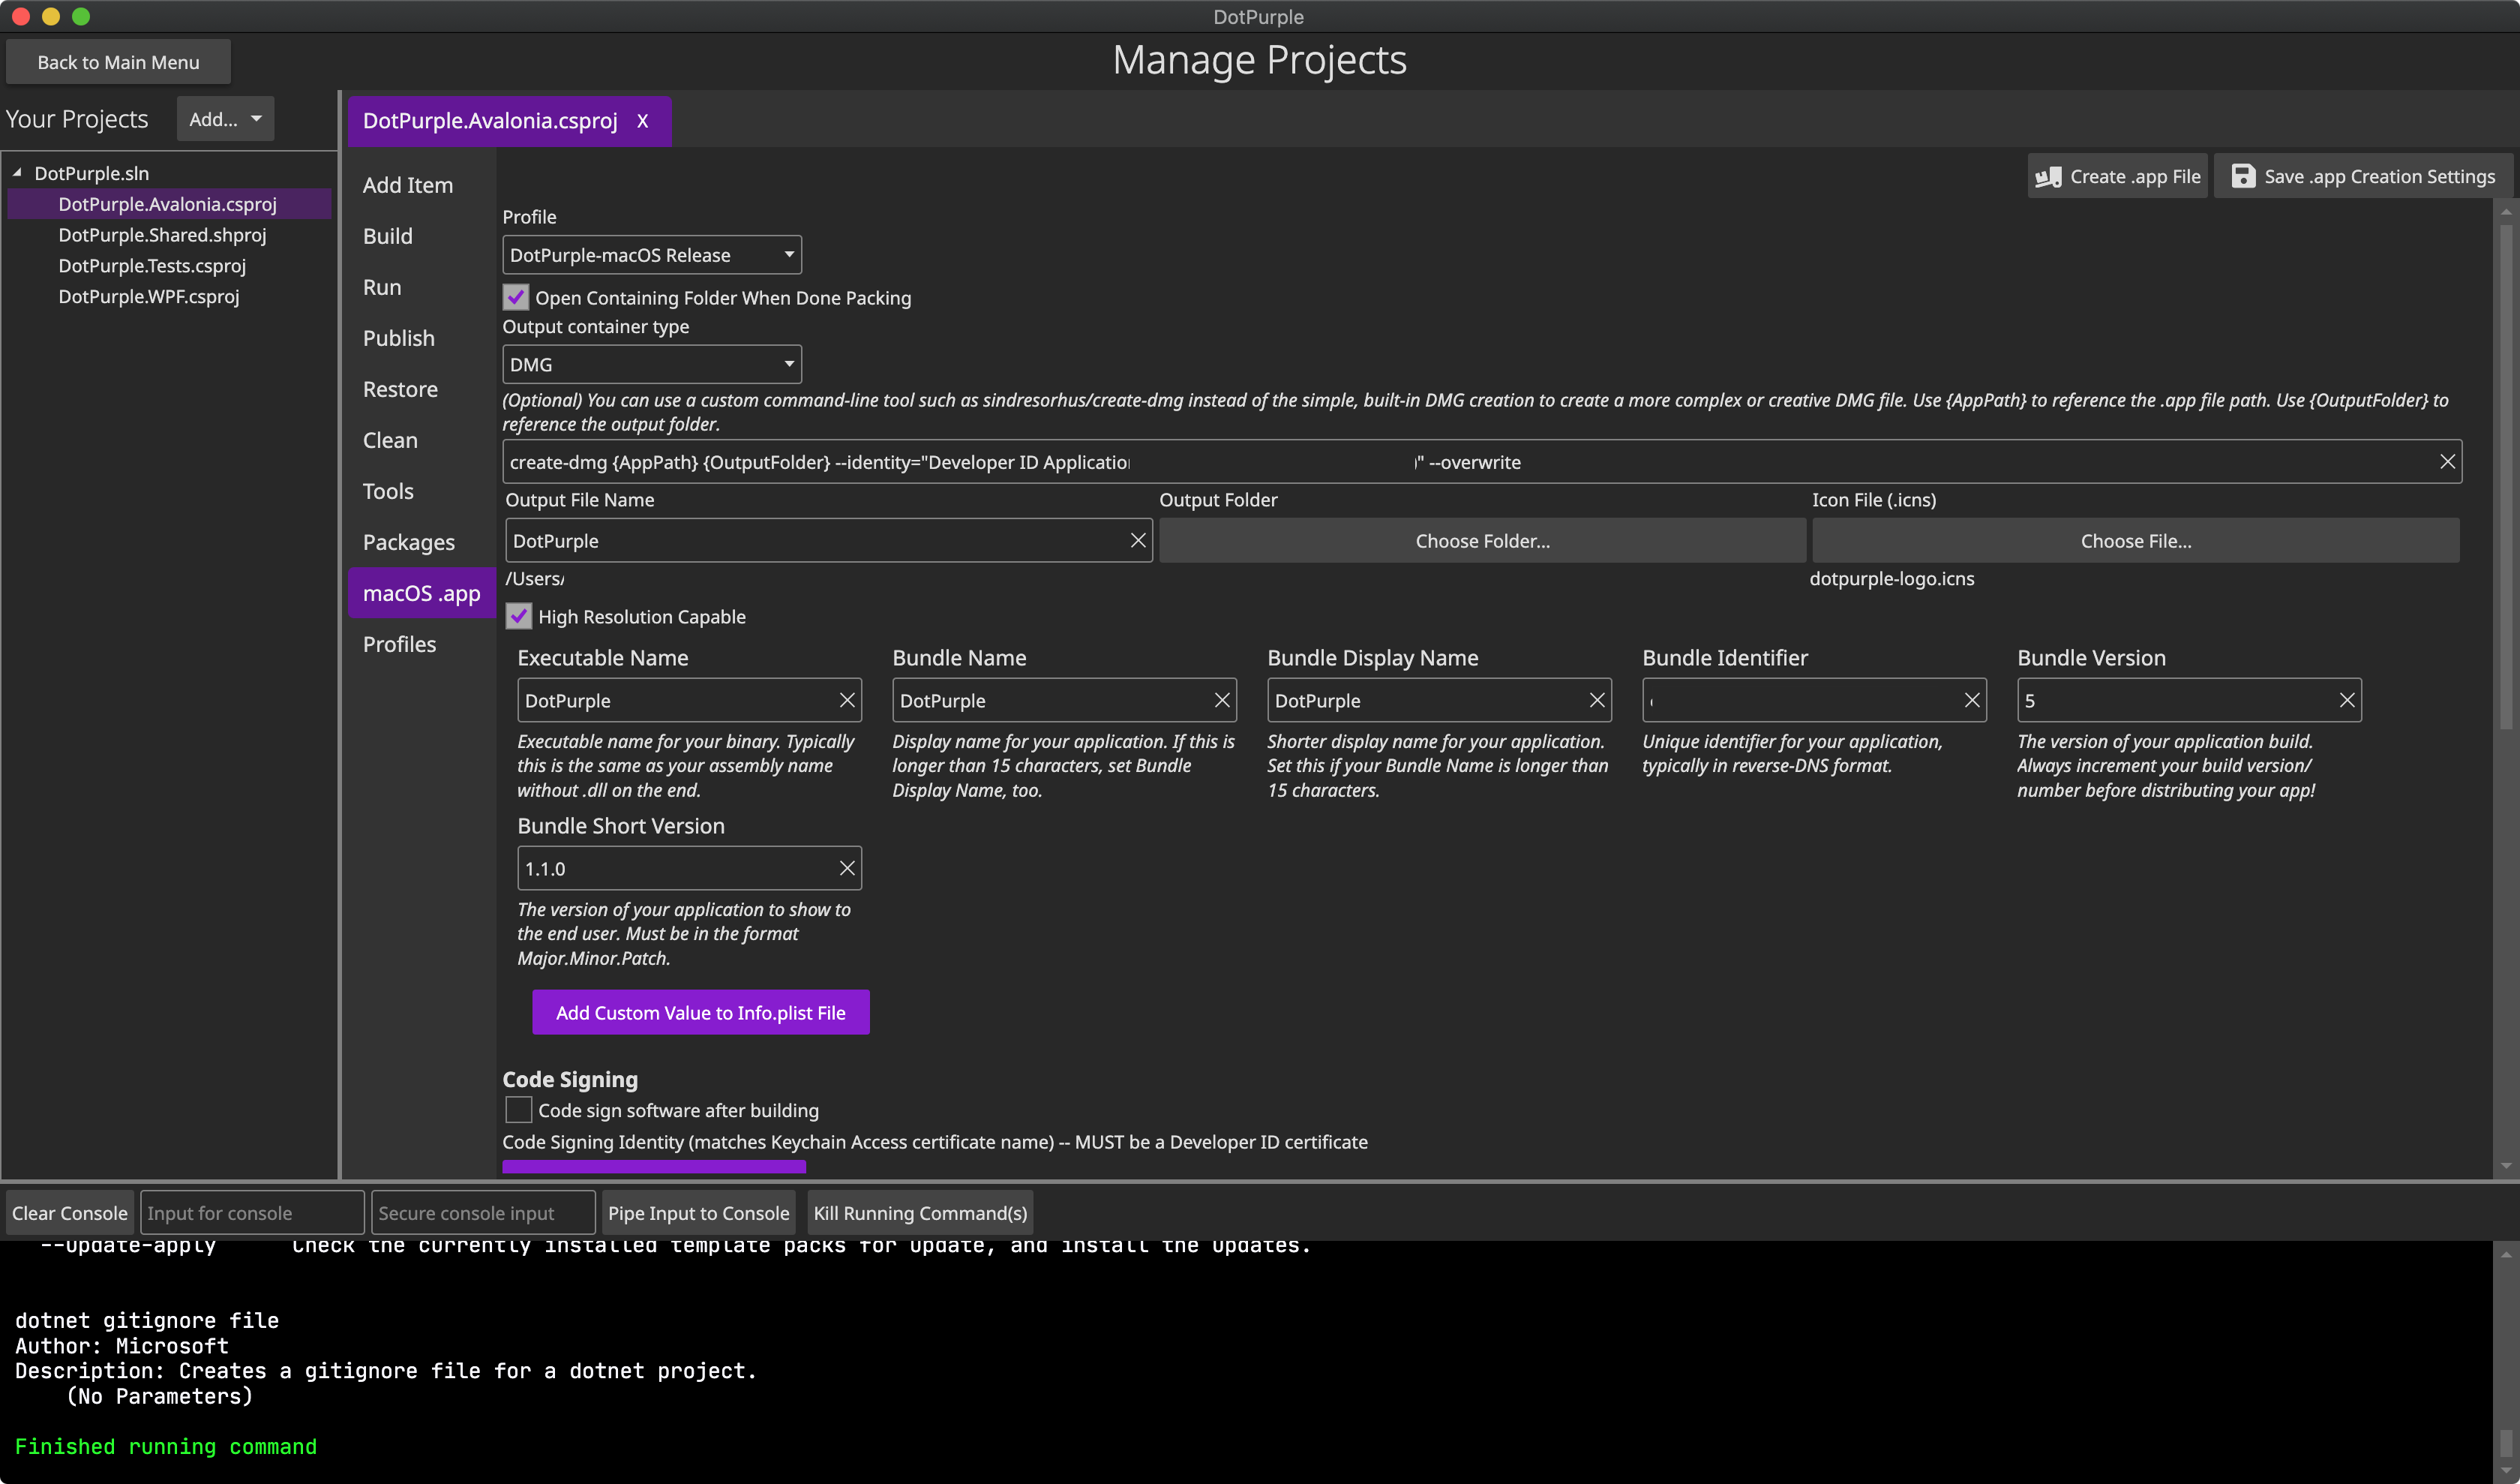
4. Click the "macOS .app" tab
5. Setup options as needed. Required options for code signing and notarization are below.
- Output file name (name of your application file)
- Output folder (location to save the published file)
- Executable name (matches the binary name that will start your application)
- Bundle name (application display name)
- Bundle display name (shorter display name if needed)
- Bundle identifier (unique identifier for your app)
- Bundle version (version number for your build). Note: this should change with every version you send out to your users!! DotPurple will NOT adjust this number for you.
- Bundle short version (Major.Minor.Patch). Note: this should change with every version you send out to your users! DotPurple will NOT adjust this number for you.
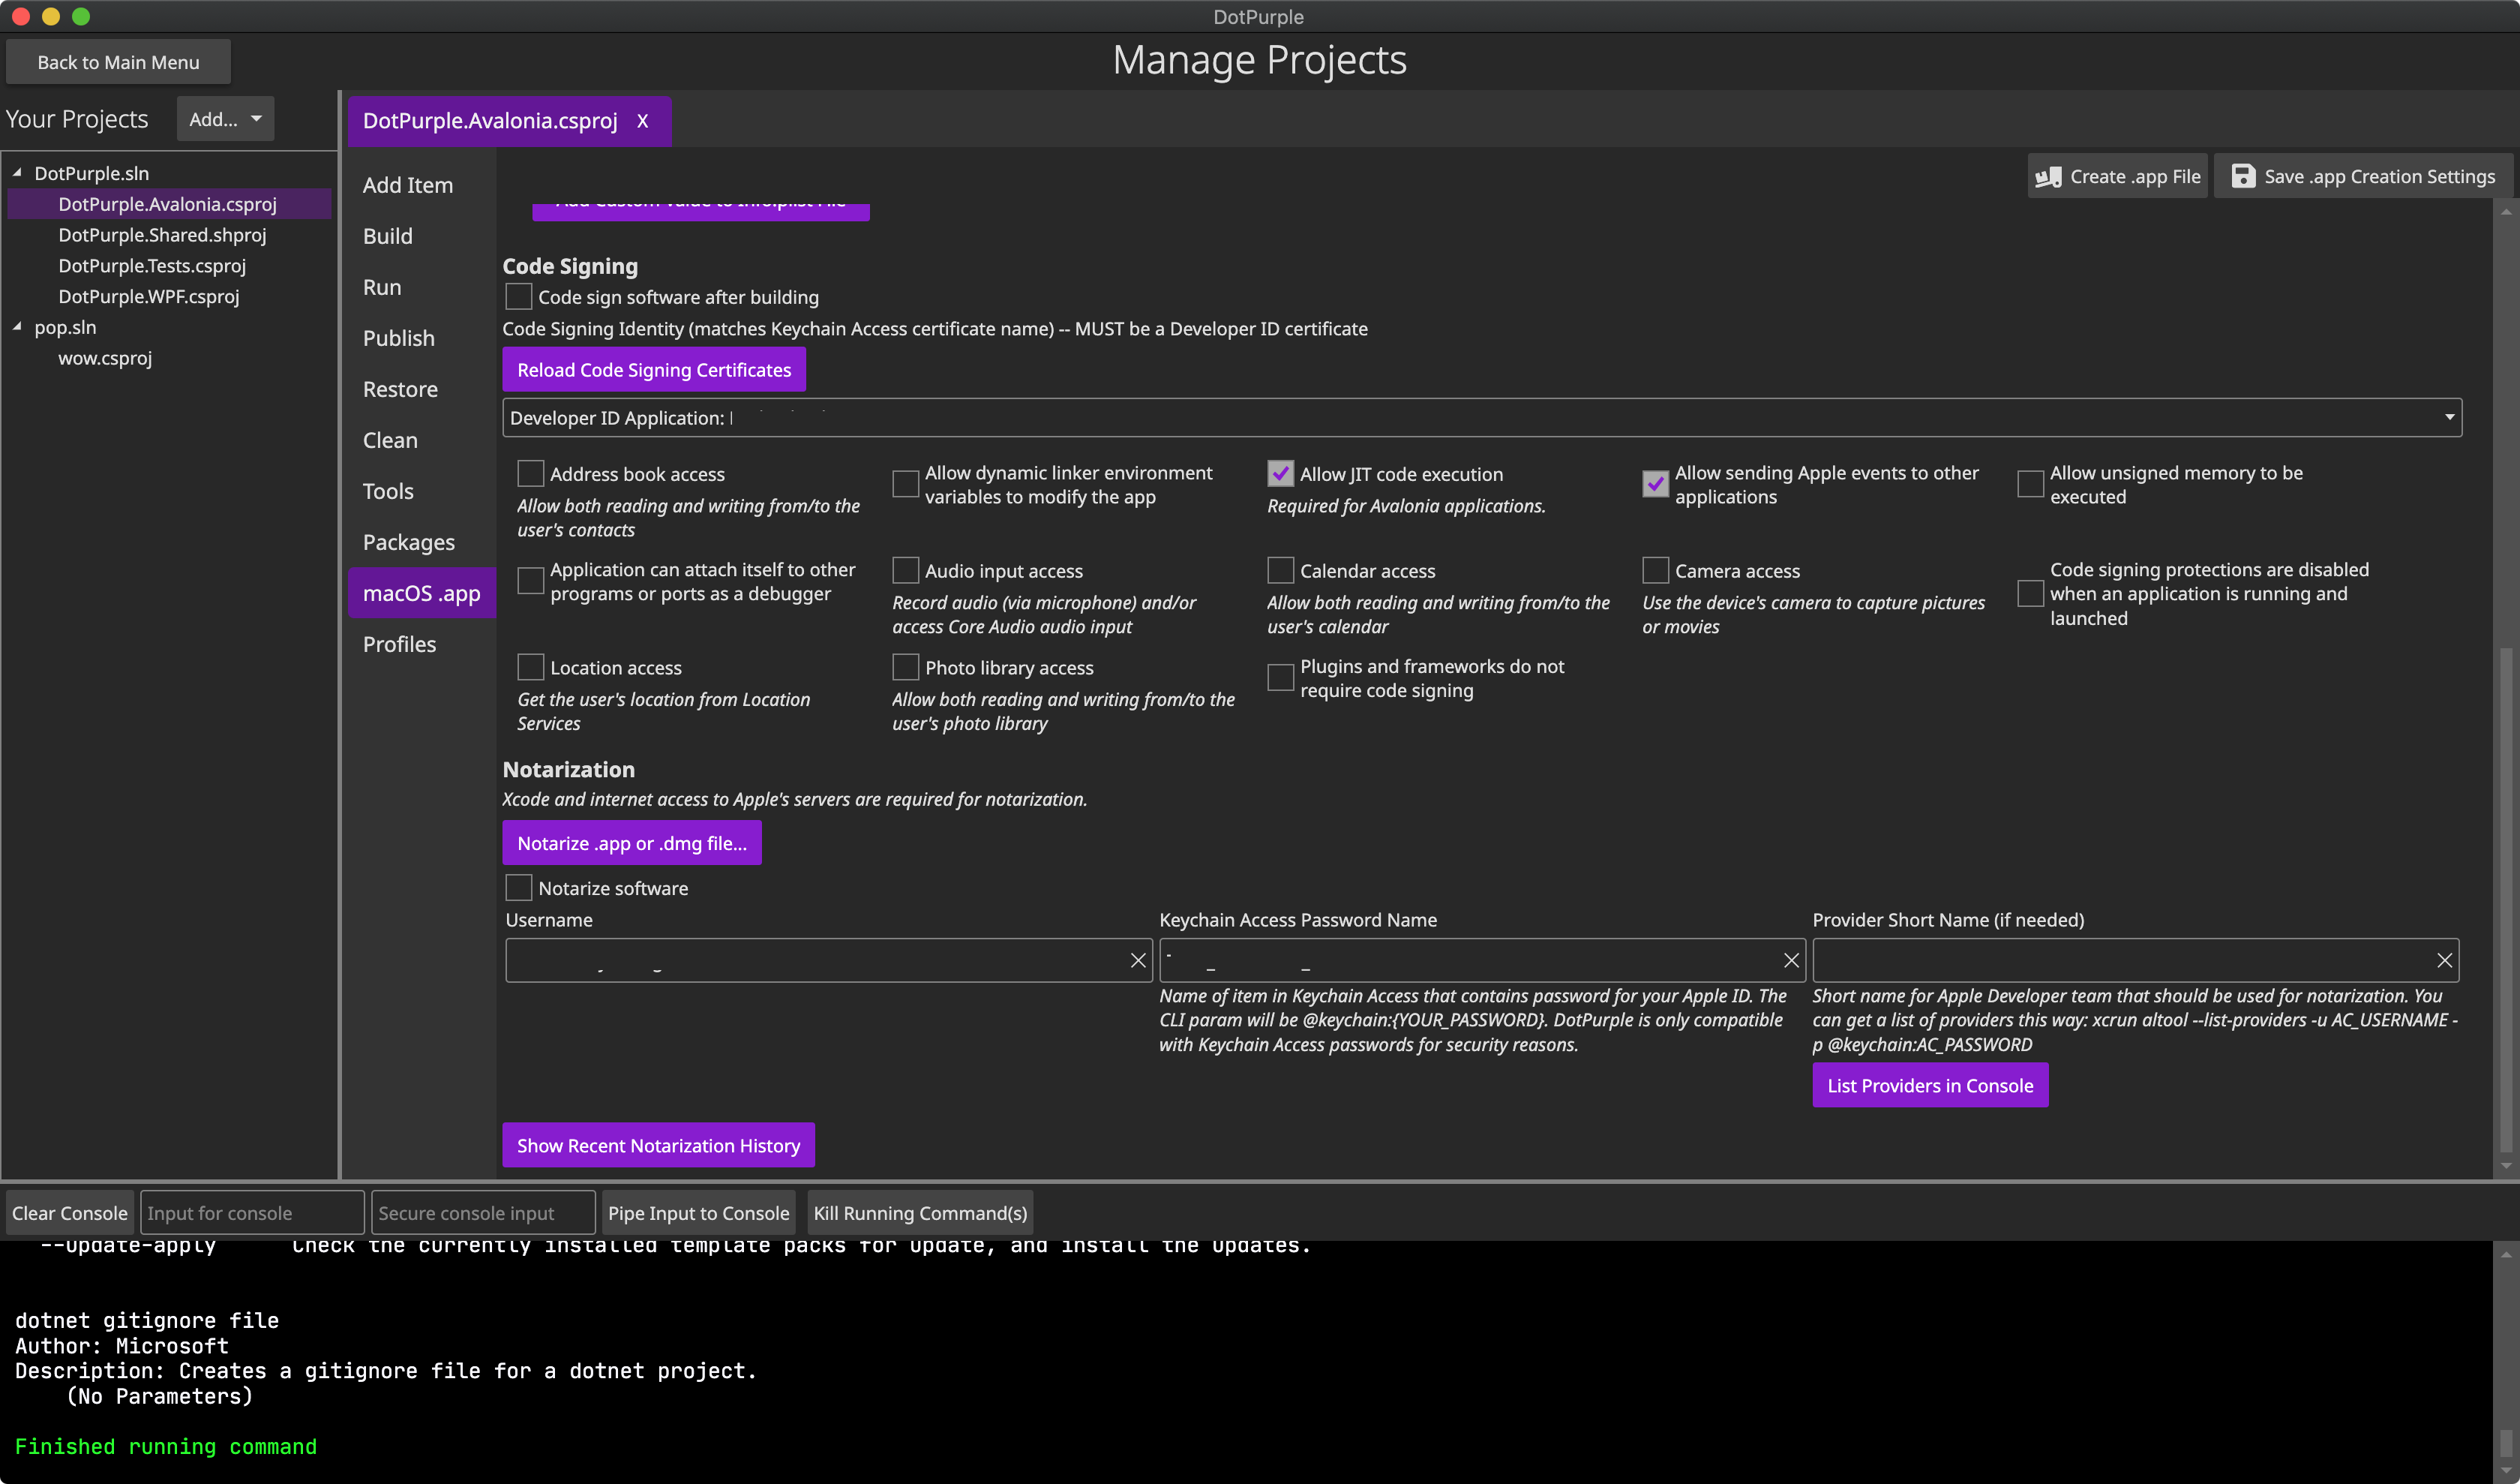
- Check the "Code sign software after building" checkbox
- Paste in your code signing identity (from step #20 above; required if using `notarytool`)
- If you are using `notarytool`, make sure to set the "Keychain Access Profile Name" to the {PROFILE_NAME} value from step #22 above.
- Check the "Allow JIT code execution" checkbox
- Check the "Notarize software" checkbox
- Put your Apple Developer username in the username text box
- Put your Keychain Access password name in the "Keychain Access Password Name" text box (from step #21 above)
- If you belong to more than one team, put in your provider short name (from step #20 above).
5. Adjust any other settings you need to tweak.
If you're going to distribute a DMG file, we recommend sindresorhus/create-dmg on GitHub. If you install that tool globally (npm install --global create-dmg), your DMG creation command would be: create-dmg {AppPath} {OutputFolder} --identity="Developer ID Application: My Name (AAA4U1PBBB)" --overwrite
6. Click "Save .app Creation Settings"
This will save your settings so that they will be automatically reloaded next time you use the software.
7. Build and notarize your app!
Now every time you want to distribute your app and build -> code sign -> notarize your app, you only have to change your Bundle Version and Bundle Short Version and then click one button ("Create .app file")! Hopefully, DotPurple has saved you hours of research and learning how the Apple notarization process works. 🎉
Find bugs? Have a feature request?
Visit our GitHub repository here and file a report under the Issues tab!